.png?height=120&name=wildcloud%20by%20WPCS%20logos%20(1).png)
Tenant snapshots allow you to diversify configurations for your otherwise uniform product. Tenant snapshots behave like normal snapshots created via the Snapshot Editor, but can be based on individual tenants, as opposed to the the whole version.
Every tenant is based on a certain snapshot. While the latest deployed snapshot of a Version determines the available plugins, themes and language files for a tenant running on that version, snapshots that are selected as a base for tenant creation serve a different purpose: they are used as a source for the tenant database and its files in the wp-content directory (other than plugins, themes and language files).
Creating tenant snapshots
To create a tenant snapshot, you can go to the tenant's detail screen and hit Actions. Click the Create snapshot button and fill out the form. Tenant snapshots can also be created from the snapshots overview screen. Click View all snapshots and hit the + button above the tenants snapshots list. When the snapshot is created, it will be available in the snapshots list when creating new tenants.
You do not have to keep the tenant running after you've created a snapshot from it. When you want to update the tenant snapshot, simply create a new tenant based on the snapshot, modify it, create a new tenant snapshot with your modifications and remove the tenant again.
Step 1: Select the tenant for which you want to create the snapshot.
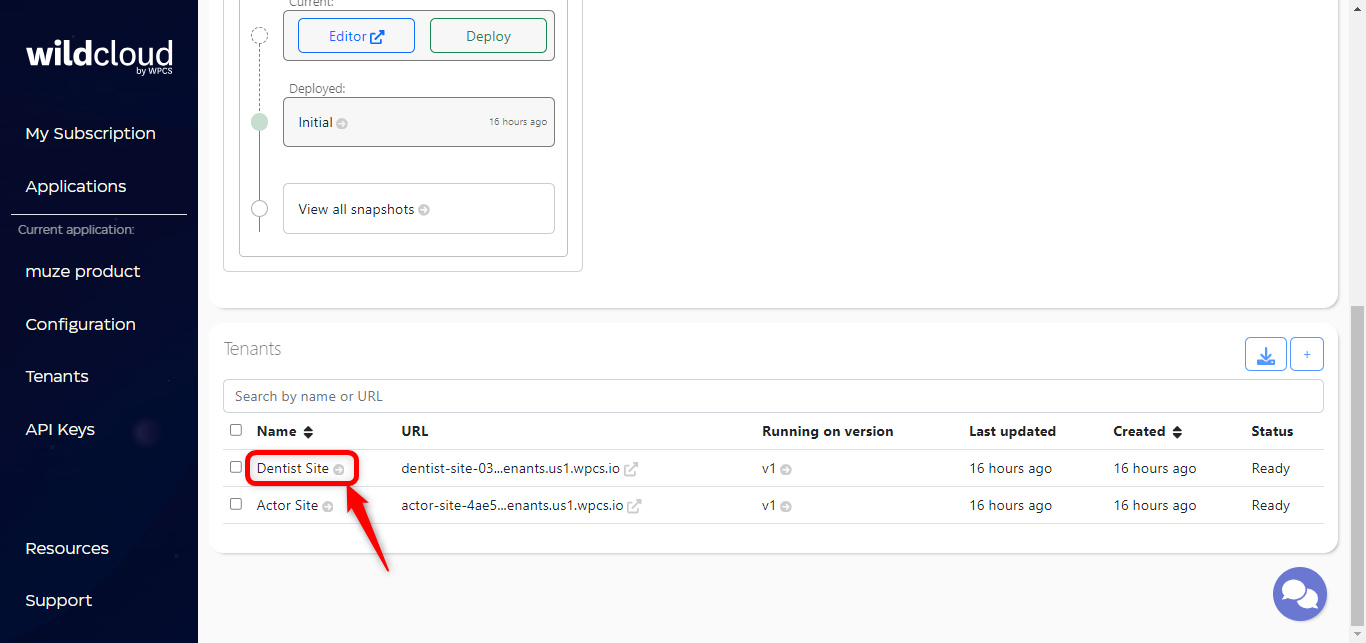
This will navigate you to the selected tenant’s details page.

Step 2: Click on the Action button and select the Create snapshot option to create a snapshot.

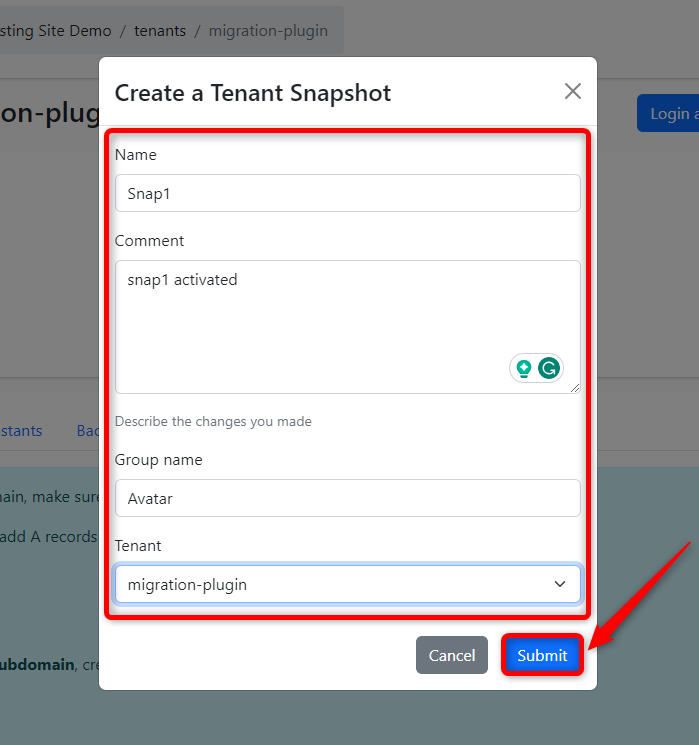
Step 3: A modal window will appear to enter the required information for the snapshot. After providing the required information, click on the Submit button.
|
Attributes |
Description |
|
Name |
Enter the name for the snapshot |
|
Comment |
Describe all the modifications you made |
|
Group Name |
Assign a group name to your tenant snapshot. |
|
Tenant |
Select the tenant for which you to create a snapshot |
Tenant snapshot Groups
When you create a new tenant using the API, you can supply a snapshot ID to create the tenant with. When you are dealing with many snapshots, this can become quite unwieldly when you update a tenant snapshot. You'd have to go to your integration platform (Zapier, for example) and update all the snapshot IDs to make sure your new snapshot is actually used.
To make this process smoother, you can create snapshots with a Group name. This group name is the common denominator for the configuration you've made. Say you have an Ecommerce application, and you have specific configurations for knitting ware and household plants. When you create the tenant snapshots for these two 'flavors' of your application, you can provide a common Group name per flavor. In your integrations, you can then create new tenants using the group names knitting-ware and household-plants to create tenants based on the latest snapshot in that group. Whenever you want to modify the flavor's configuration, you just use the same Group name when creating a new tenant snapshot with your modifications, and new tenants will automatically use that latest snapshot.
Ideally, when you want to upgrade a flavor's configuration, you would use the following process for maximum development confidence and cost efficiency:
- Create a new tenant from the tenant snapshot you want to update
- Make your modifications
- Create a new tenant snapshot with the same group name
- Delete the tenant
When your tenant snapshot list gets too big, you can simply delete some older tenant snapshots. Be sure to keep at least one tenant snapshot per group name.
Upgrading tenant snapshots to to new versions
When upgrading your application, creating a new version, making some changes and updating plugins, there comes a point that you need to update your tenant snapshots as well. To have the maximum confidence in the stability of the tenant snapshots we recommend the following workflow:
- Create a new tenant based on your tenant snapshot in your old version.
- Move this tenant to your new version.
- Check if the new tenant works and make adjustments when necessary.
- In the console create a new tenant snapshot based on the tenant that you tested and tag it with the same groupname as the tenant snapshot you based it on.
You now have succesfully and securely moved your tenant snapshot from one version to another, knowing that new tenants based on this snapshot on your new version will work.