.png?height=120&name=wildcloud%20by%20WPCS%20logos%20(1).png)
Production versions are the default target for newly created tenants. Want to upgrade your production version, find out how in this guide.
Setting a version to production makes it the destination for new tenants that are provisioned via the API / storefront. When users create a new application on wildcloud, v1 is the base version created for every application which is set as a production by default. If you have updated your product in the next version, then wildcloud makes it possible to set any desired version as production.
Note: The “Set as Production” option is not available for the first version as it is already in production.
In this documentation, we will explore the steps to set a version as production.
Let’s get started🚀
Step 1: Log in to your wildcloud account and you will be navigated to the Applications page by default.
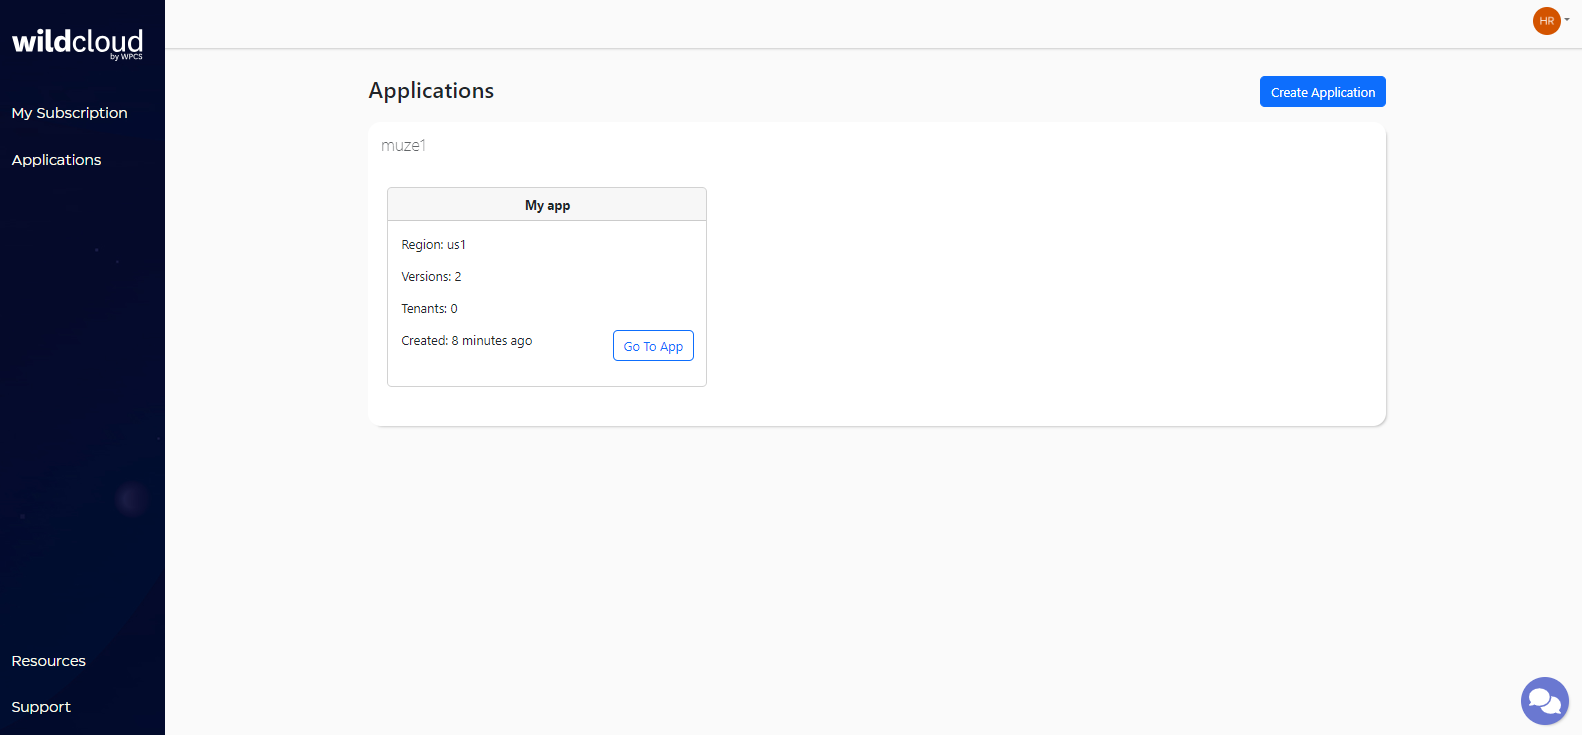
Step 2: Click on Go To App and it will navigate you to the product page.

Note: You can also click on the application name as it will navigate you to the same window.
Step 3: Click on the version name that you want to set as production.

This will navigate you to the selected version’s details page.
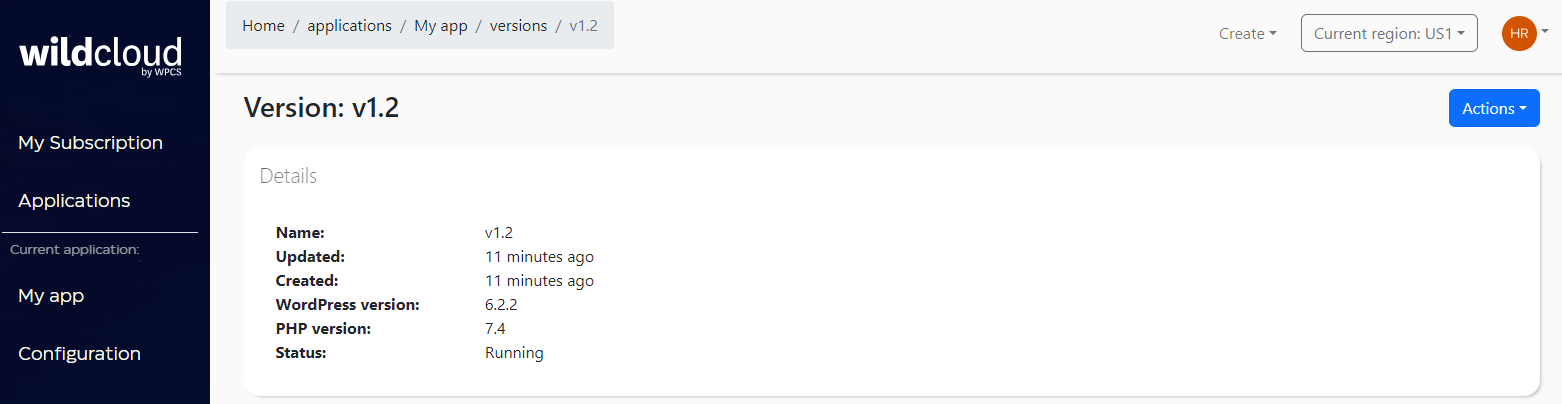
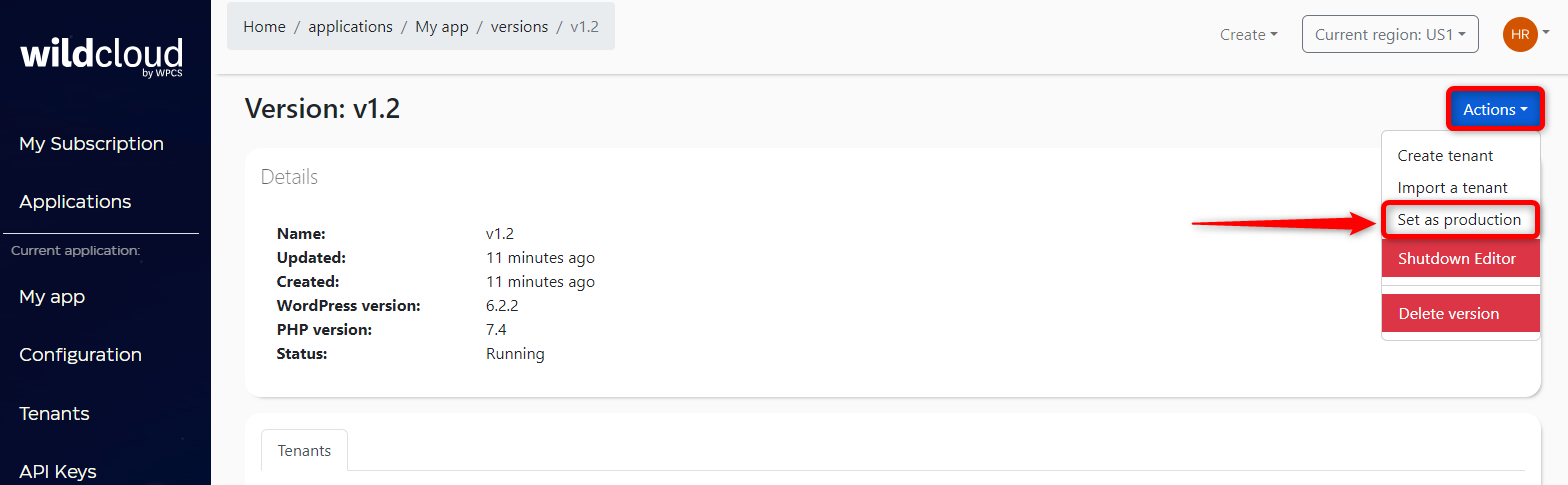
Step 4: Click on the Action button and select the Set as production option to set the particular version as production.
A modal window appears to confirm the action. Click on the Submit button to continue.
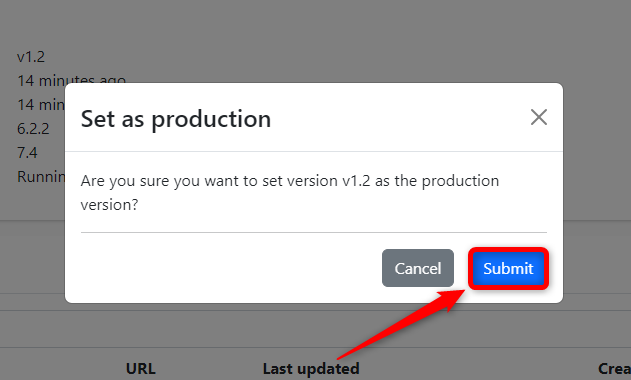
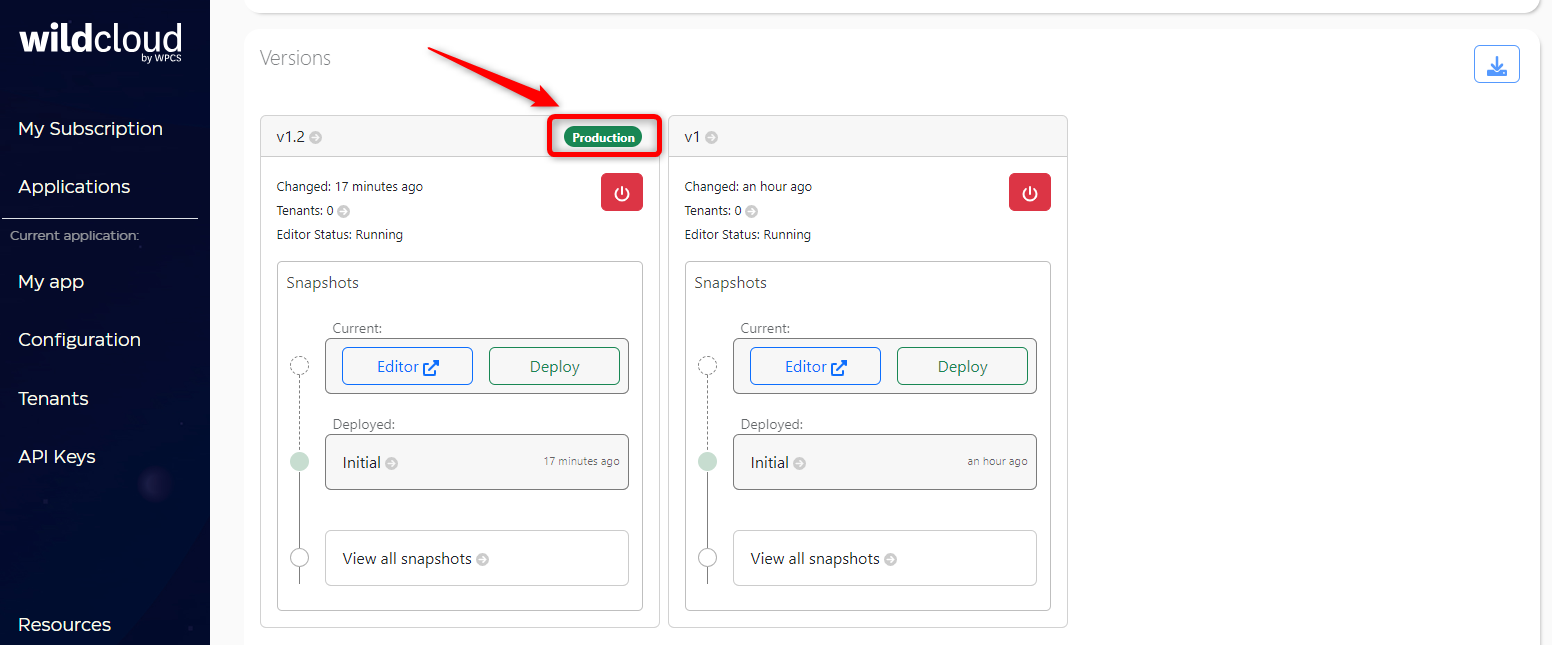
This will set your selected version as production and remove the previous version from production.