.png?height=120&name=wildcloud%20by%20WPCS%20logos%20(1).png)
There are a few ways to manage the active plugins on your tenants. One option is to manually manage this through the console. Find out how in this guide.
You can activate or deactivate plugins from the console in two ways: per tenant or for multiple tenants all at once. However, to activate or deactivate WP plugin(s), you first need to add plugin(s). For more information, refer to the Adding or updating a plugin documentation.
In this documentation, we will explore steps to:
- Activate WP Plugin(s)
- Deactivate WP Plugin(s)
Let’s get started🚀
Activate WP Plugin(s)
To activate WP plugin(s), perform the following steps:
Step 1: Log in to your wildcloud account and you will be navigated to the Applications page by default.
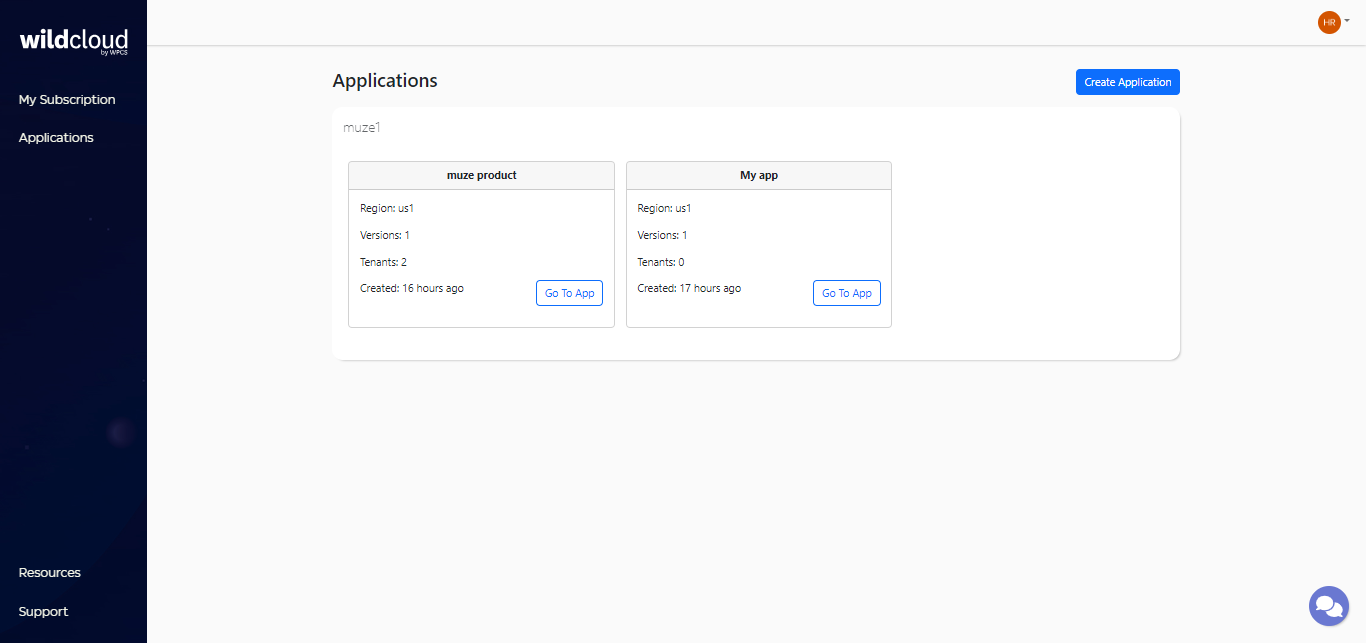
Step 2: Click on Go To App to navigate to the product page.
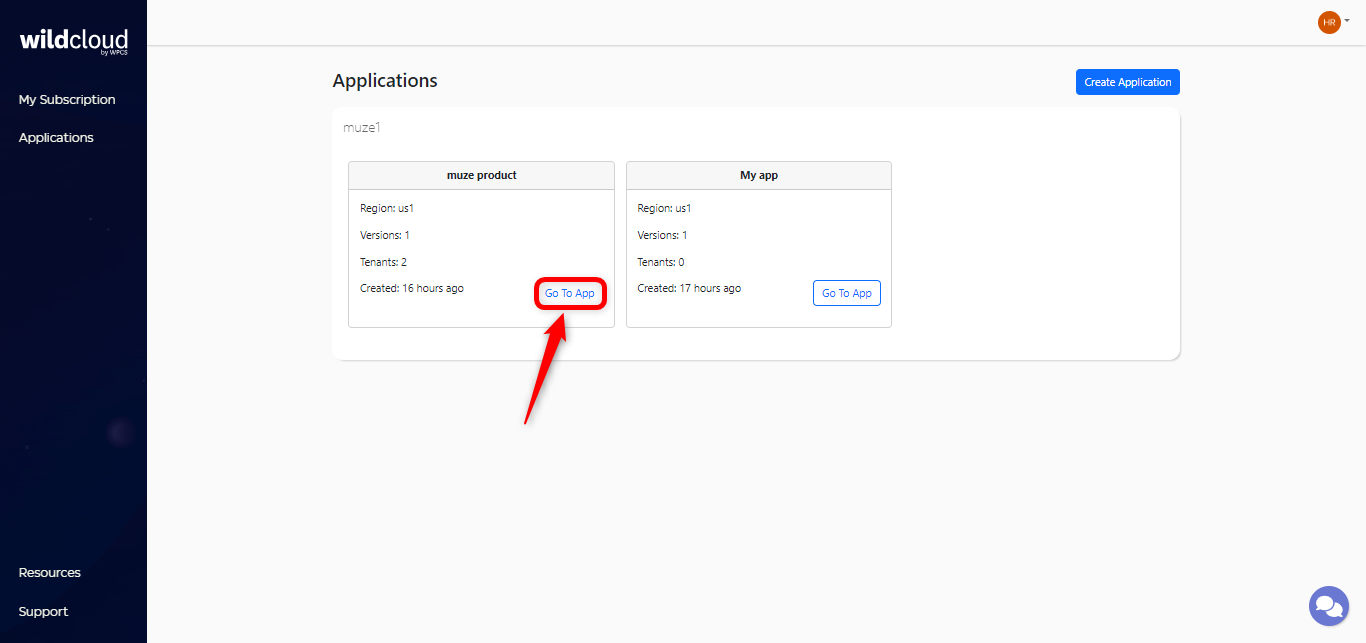
Note: You can also click on the application name as it will navigate you to the same window.

Step 3: Click on the Tenants from the left menu of the interface.
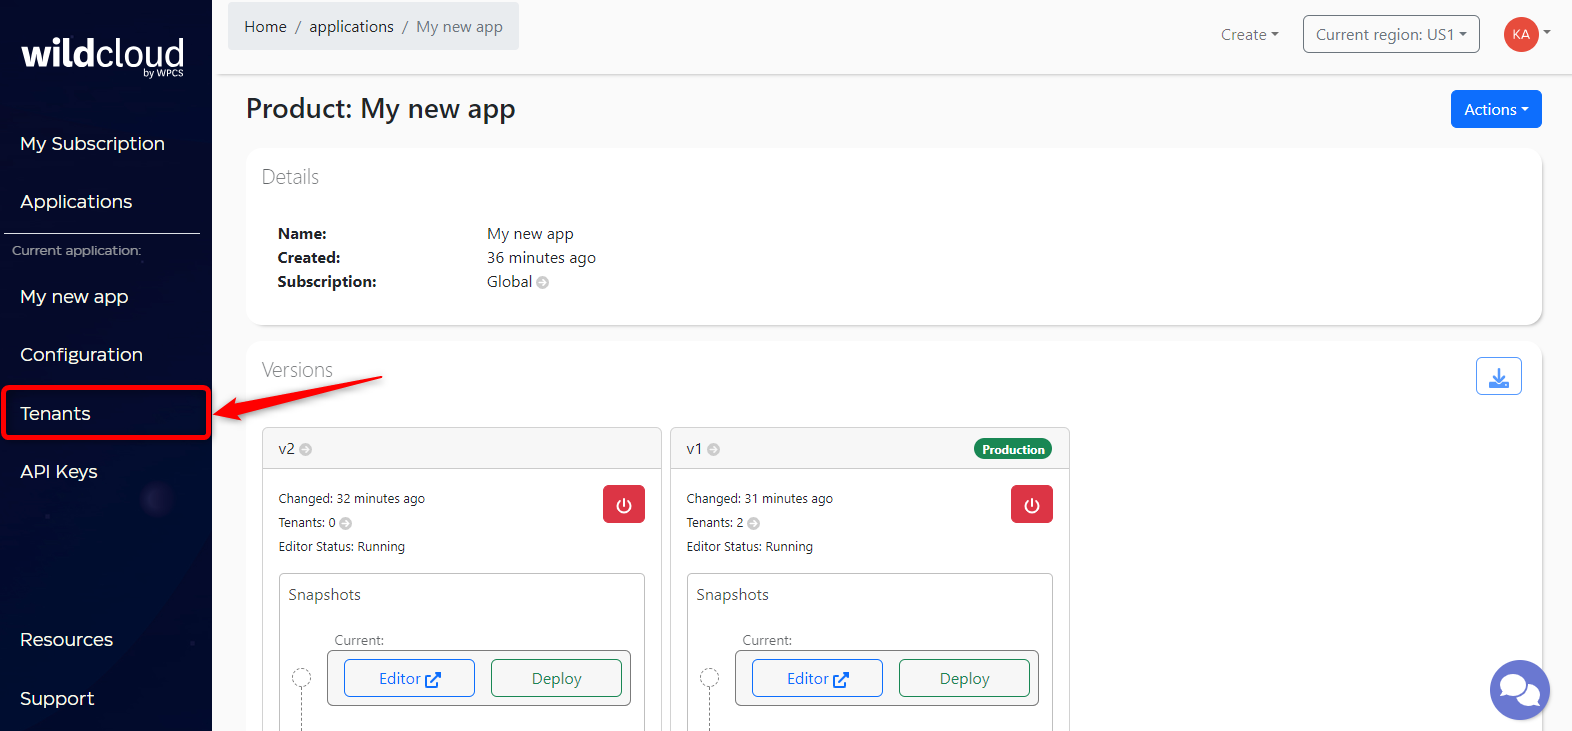
Alternatively, you can also click on the Tenants at the bottom of the product page.
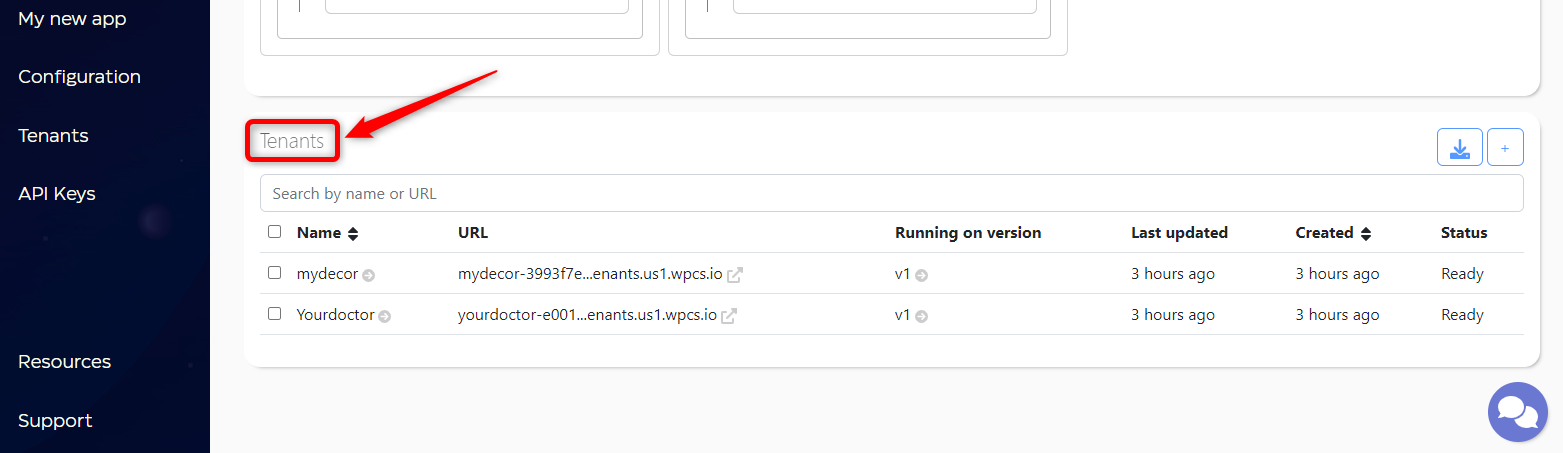
This will navigate you to the Tenants detail page where you can explore the list of tenants generated.
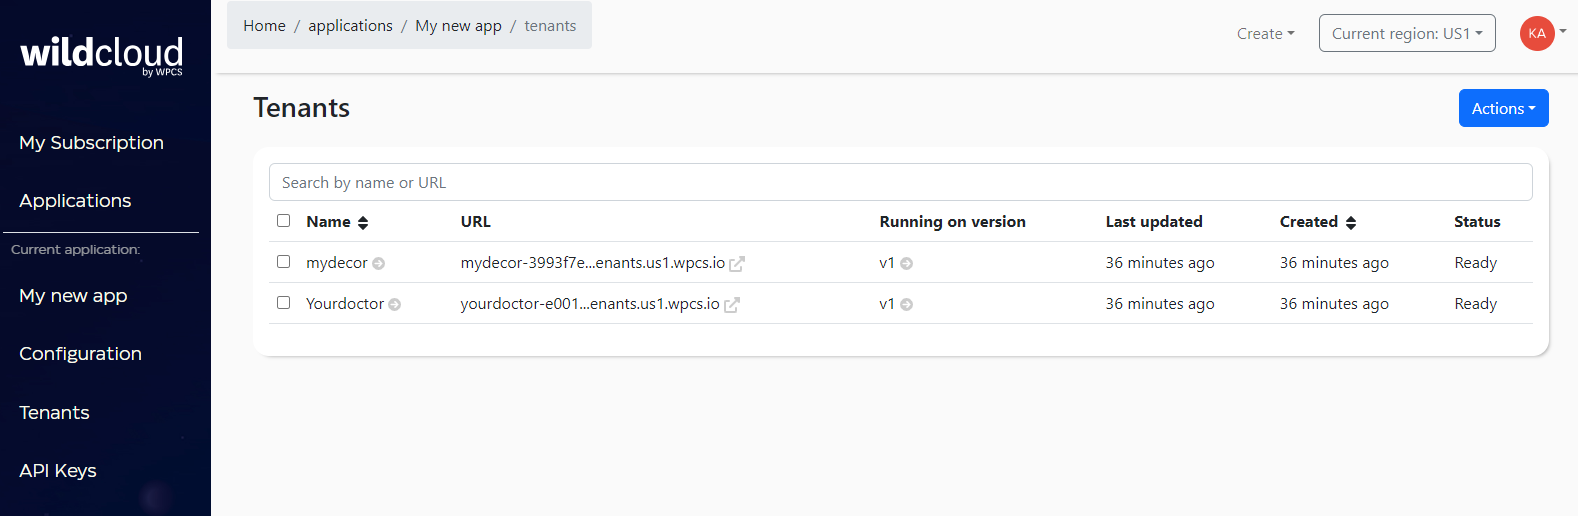
Step 4: Click on the tenant name for which you want to activate WP plugin(s).

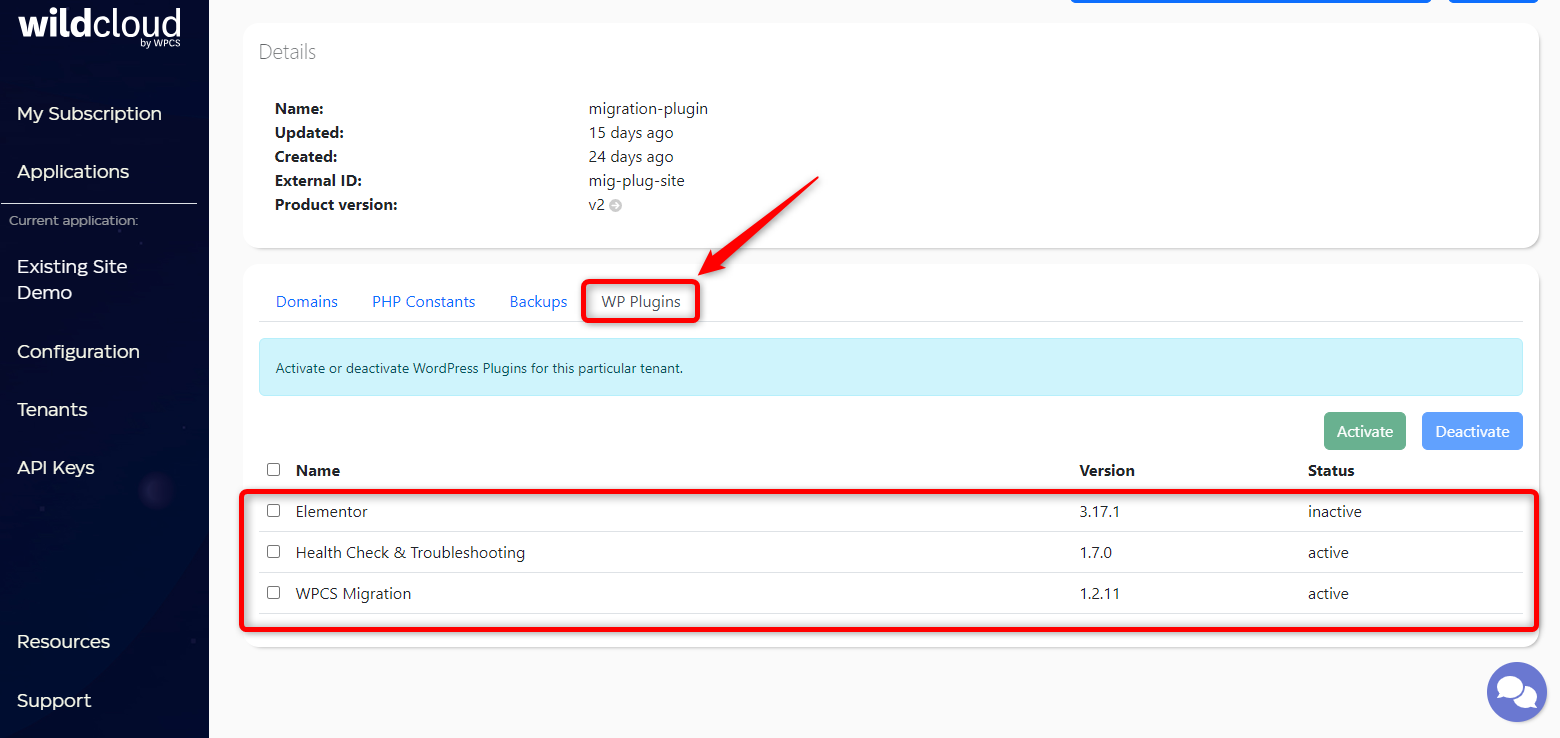
Step 5: Click on WP Plugins and a list of plugins will appear.
Step 6: Select the plugin(s) that you want to activate and click on the Activate button.

Step 7: A modal window will appear to confirm the plugin activation. Tick the checkbox and click on the Submit button to proceed further.

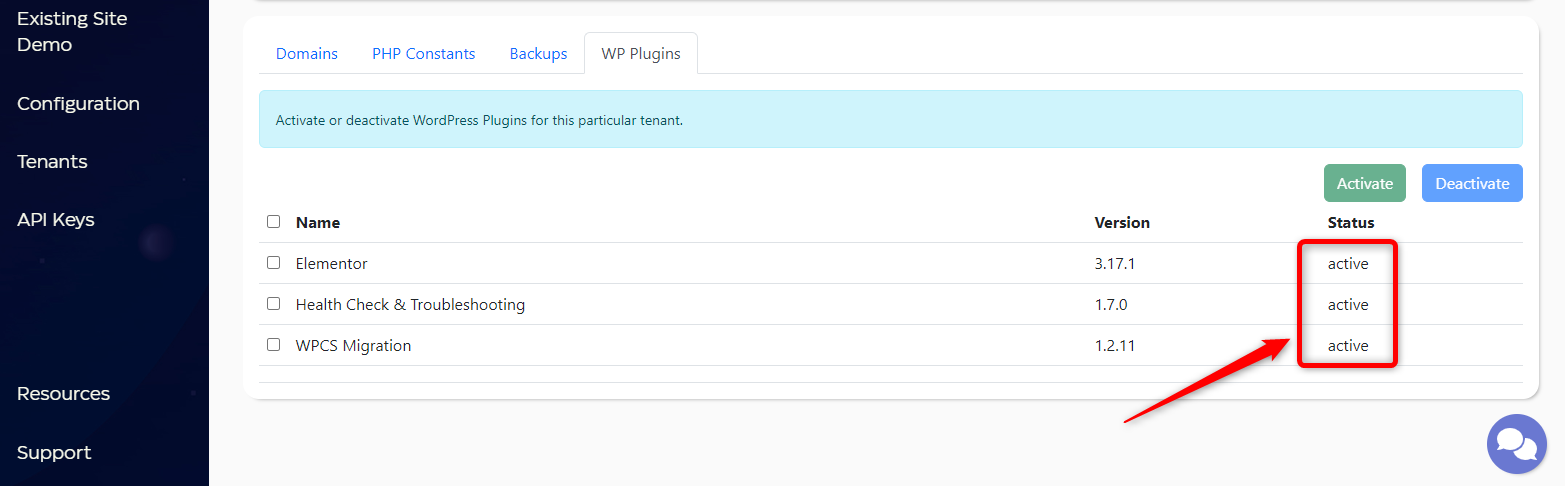
The status of the plugin(s) will change to active.
Deactivate WP Plugin(s)
To deactivate WP plugin(s), perform the following steps:
Step 1: Log in to your wildcloud account and you will be navigated to the Applications page by default.
Step 2: Click on Go To App to navigate to the product page.
Note: You can also click on the application name as it will navigate you to the same window.
Step 3: Click on the Tenants from the left menu of the interface.
Alternatively, you can also click on the Tenants at the bottom of the product page.
This will navigate you to the Tenants detail page where you can explore the list of tenants generated.
Step 4: Click on the tenant name for which you want to deactivate the WP plugin(s).
Step 5: Click on WP Plugins and a list of plugins will appear.
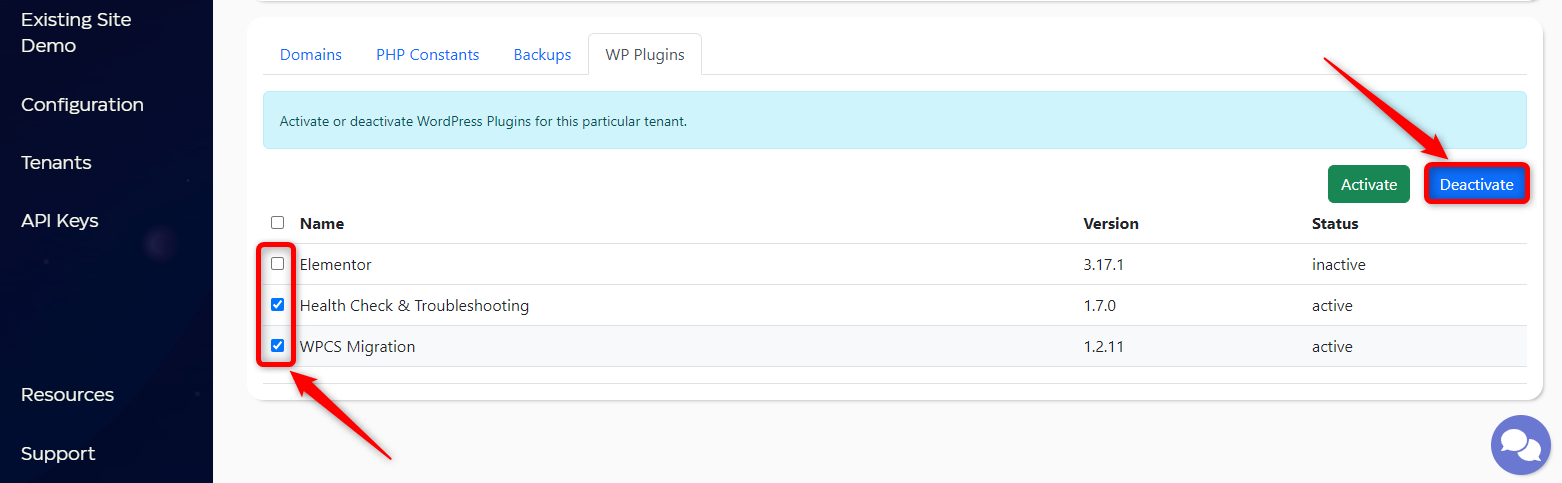
Step 6: Select the plugin(s) that you want to deactivate and click on the Deactivate button.
Step 7: A modal window will appear to confirm the plugin deactivation. Tick the checkbox and click on the Submit button to proceed further.
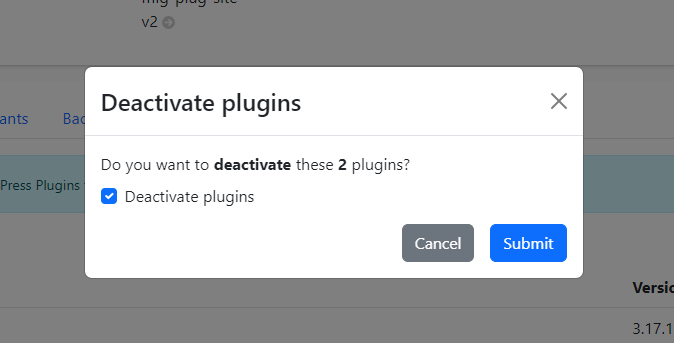
The status of the plugin(s) will change to inactive.
