.png?height=120&name=wildcloud%20by%20WPCS%20logos%20(1).png)
Is there an existing website that you would like to productize using the wildcloud platform? Follow this guide on how to import an existing website into the wildcloud platform.
You can create an application by importing from an existing WordPress site that you may have elsewhere. It involves importing all files and databases associated with your existing WordPress site to set up a new wildcloud application.
In this documentation, we will explore the steps to import an existing WordPress site to wildcloud through the following sections:
- Create New Application
- Activate wildcloud Migration Plugin
- Export the WordPress Site as a Version
- Export the WordPress Site as a Tenant
Let’s get started🚀
Create New Application
Step 1: Log in to your wildcloud account and you will be navigated to the Applications page by default.

Step 2: Click on the Create Application to build your first application.

This will navigate you to the Create new application page providing you with a few options to start creating your application.
Step 3: Click on Import from application and Next at the bottom of the page to start working on your application.


Step 4: Enter the name that you want to give to your application and click on the Next button.

Step 5: Select the Region in which you want to create your application and choose the subscription name from the dropdown menu. Click on the Import application button after making the relevant selections.
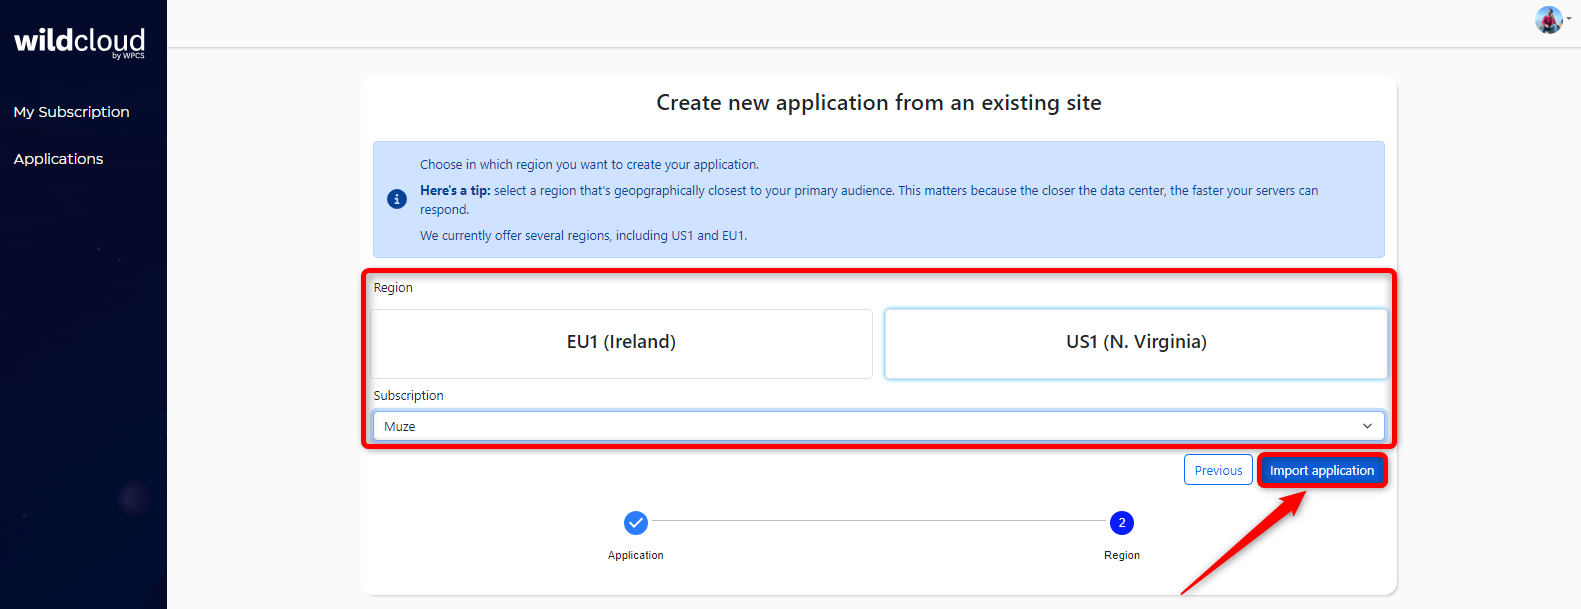
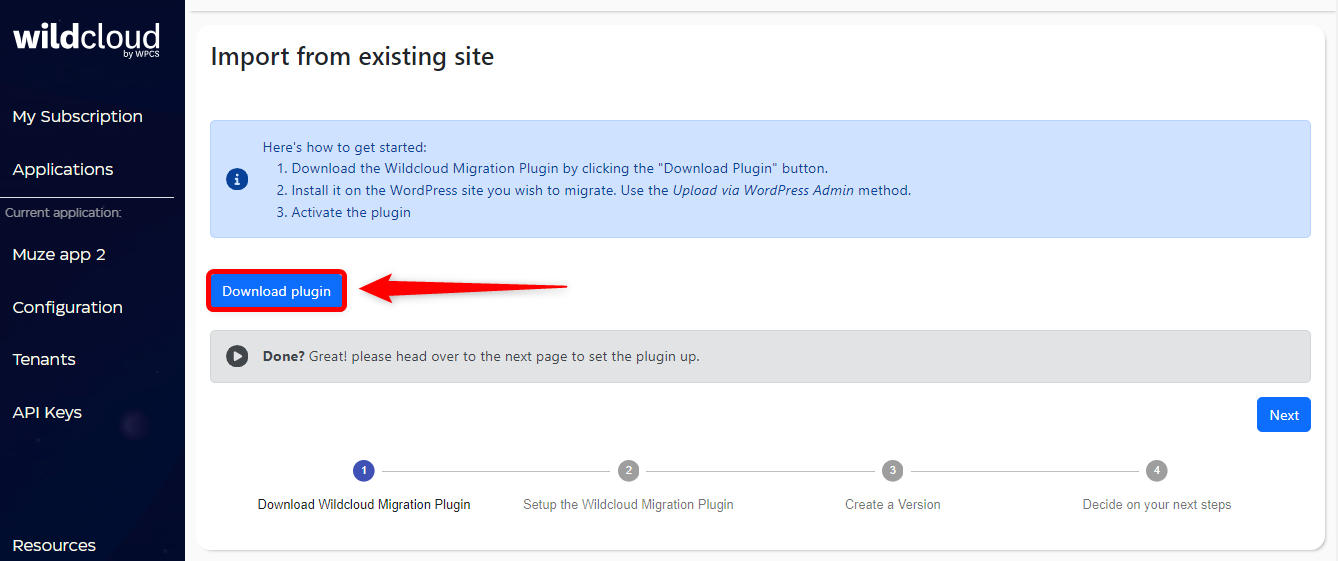
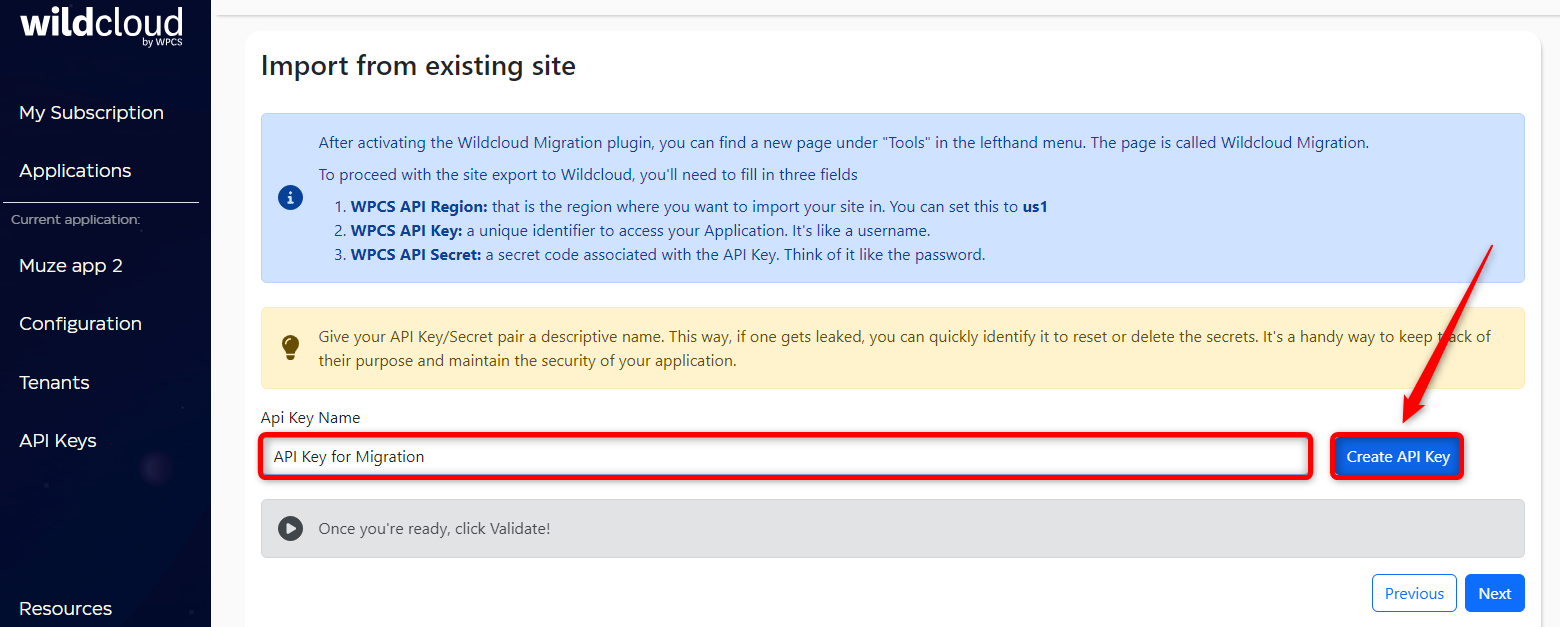
This will navigate you to the “Import from existing site” page to download the plugin and move forward.
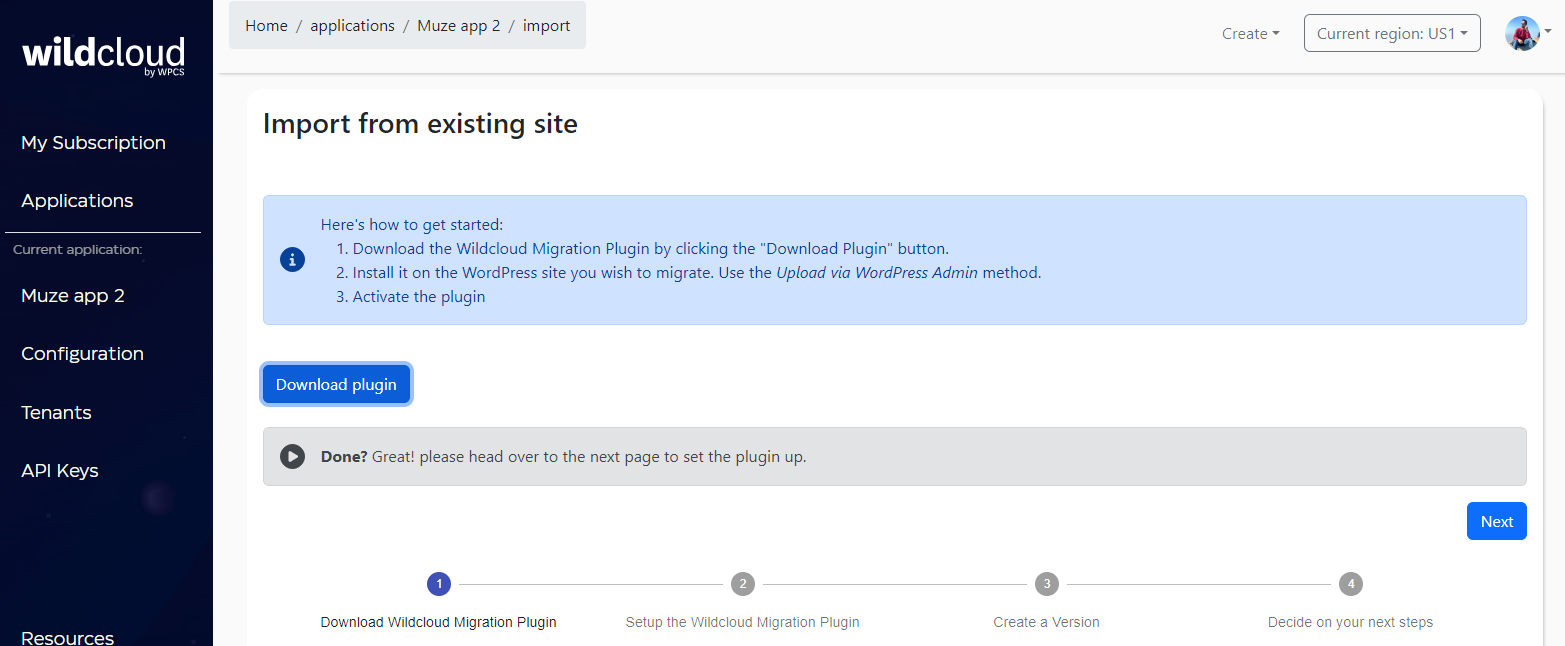
Step 6: Click on the Download plugin to download the WPCS (wildcloud) Migration Plugin to your local computer.
Step 7: Click on the Next button.

Step 8: Enter the name of the API key and click on the Create API Key button.
Note: Naming the API key makes it easy to identify the API key in case it gets leaked, to reset or delete the secrets.
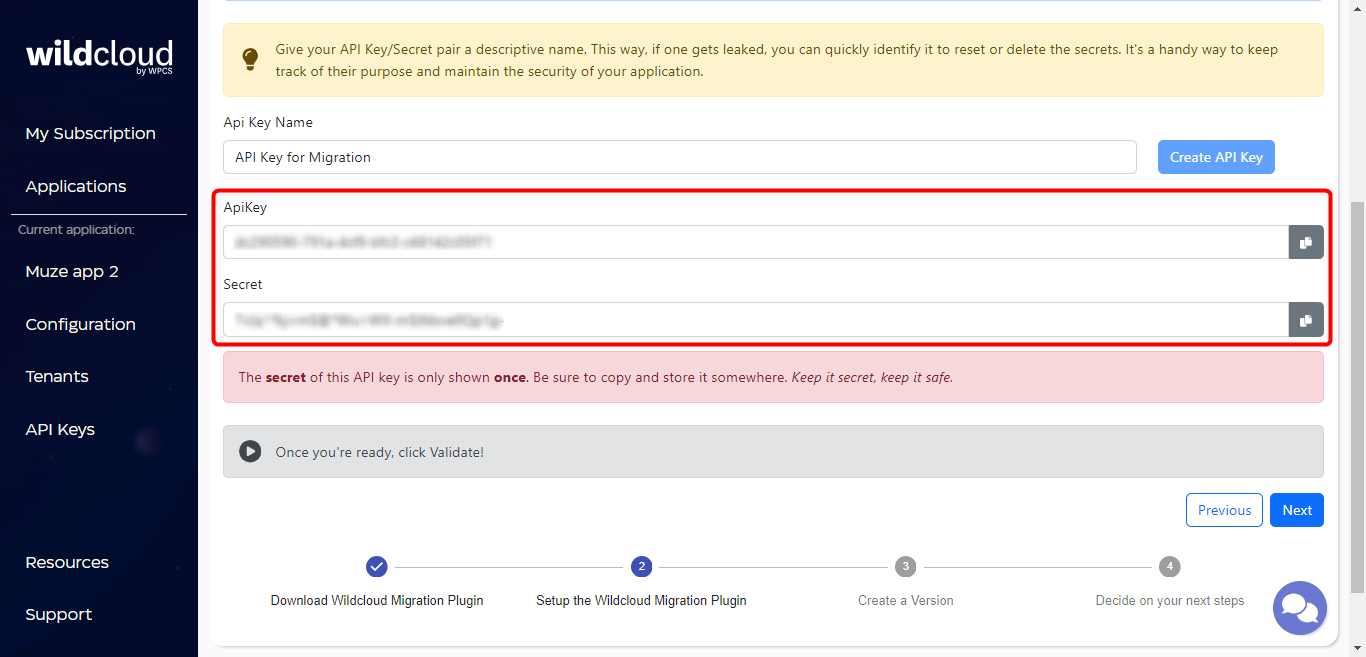
This will display the API key and Secret which you need to save for future purposes.
Activate wildcloud Migration Plugin
To activate migration plugins, follow the below-defined steps.
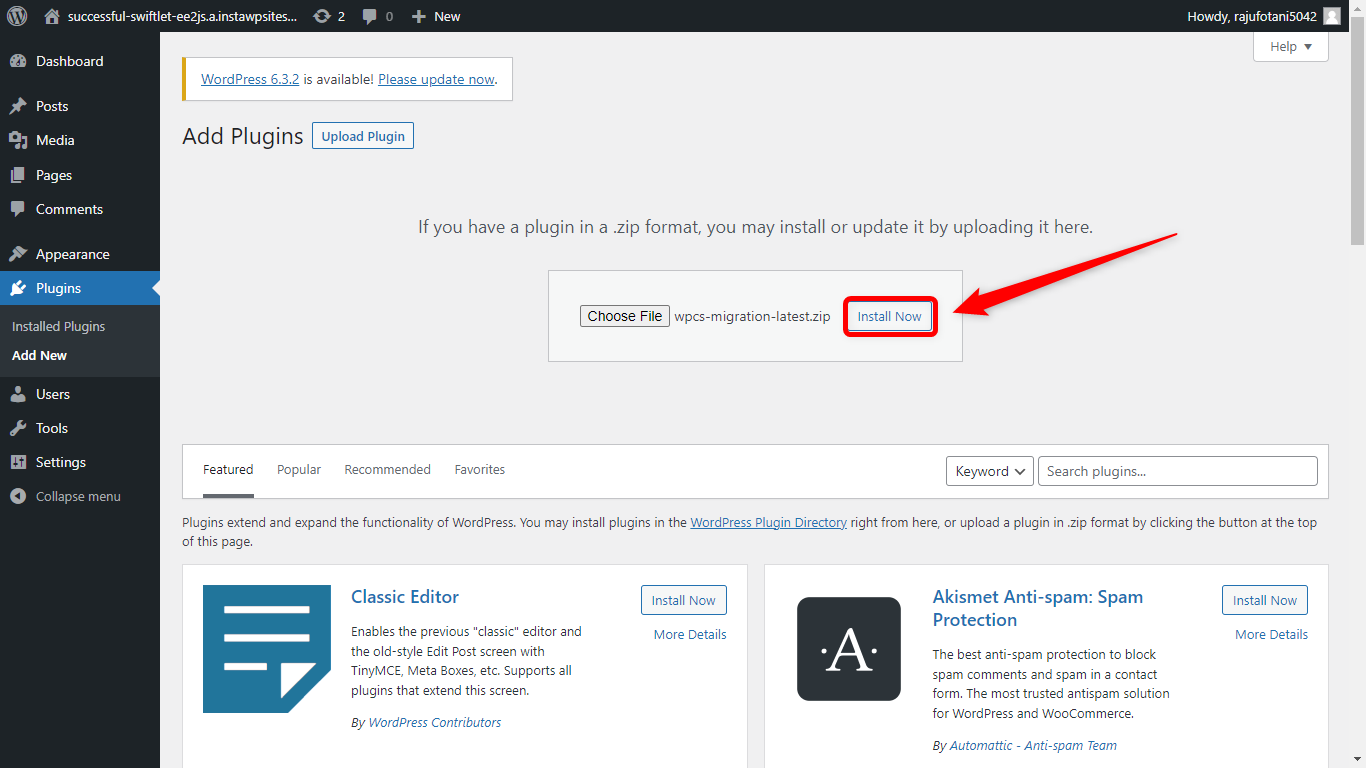
Step 1: Navigate to your existing WordPress site admin panel and click on the Choose File option to upload the WPCS migration plugin (.zip file).

Step 2: After uploading the plugin, click on the Install Now button.
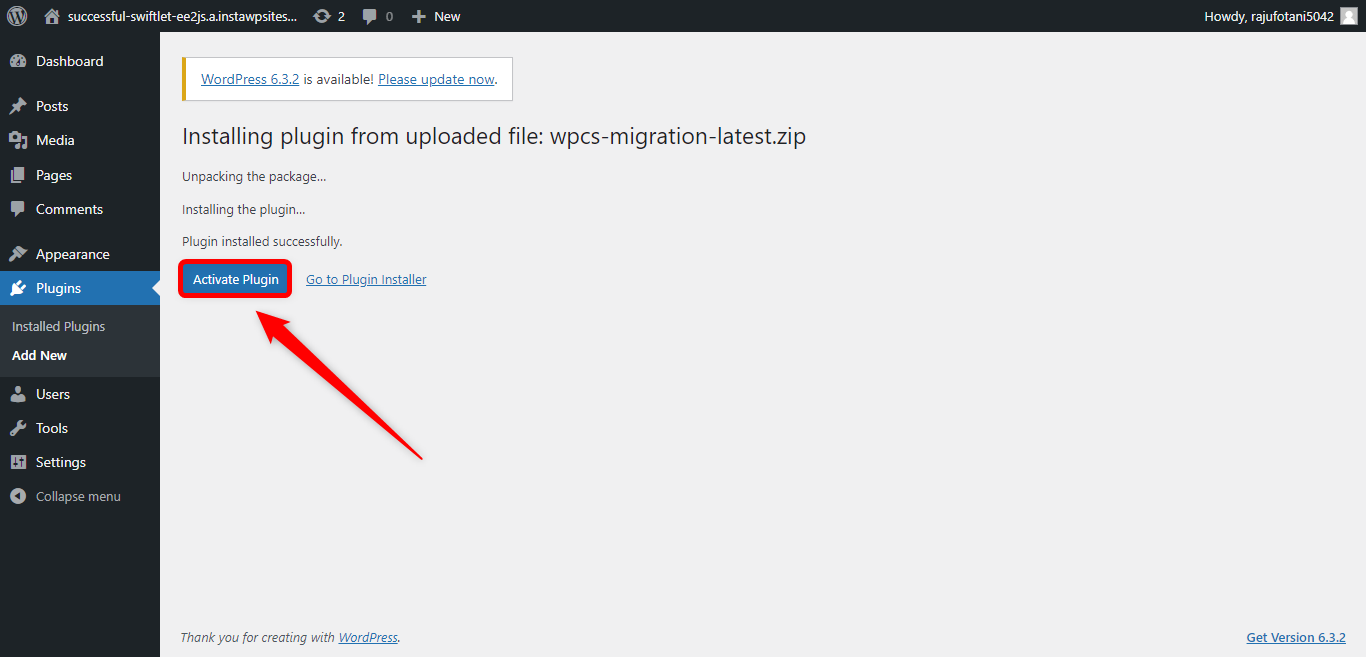
Step 3: Click on the Activate Plugin button and your plugin gets activated successfully.
Step 4: Click on the Settings button and this will navigate you to the WPCS Migration page.
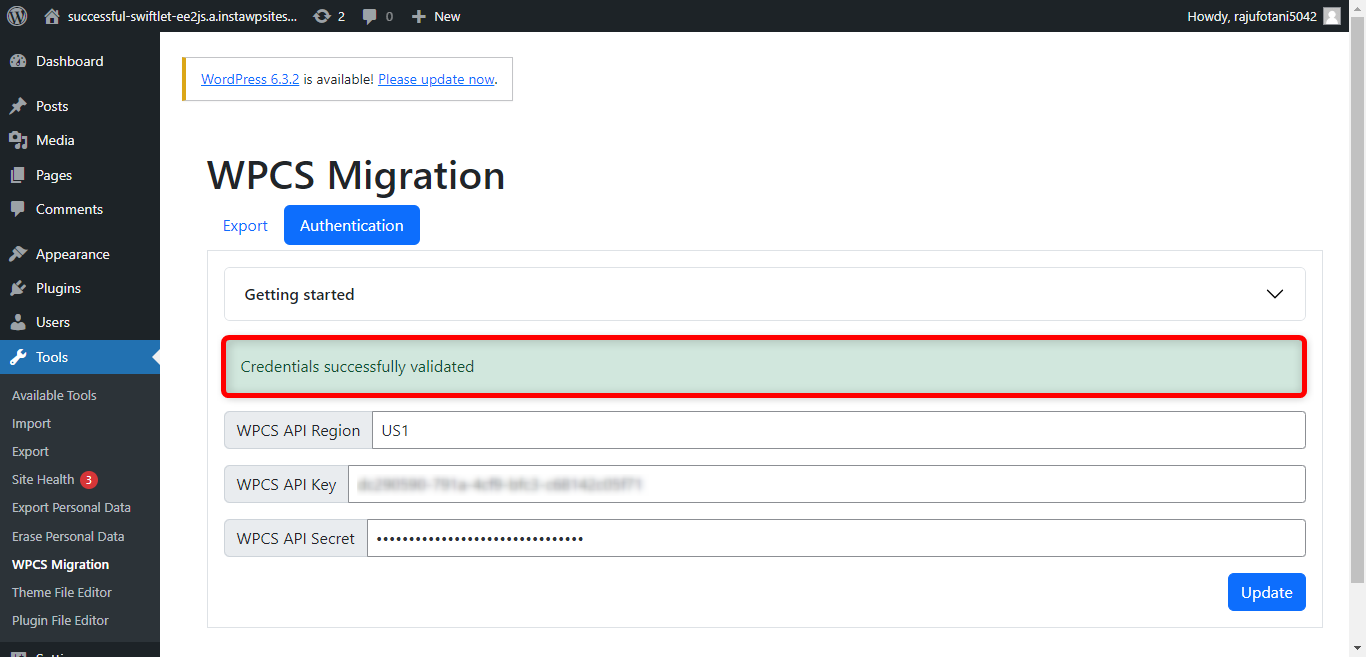
Step 5: Enter the requested information and click on the Update button.
|
Fields |
Description |
|
WPCS API Region |
Enter the region where you want to import your site. |
|
WPCS API Key |
Enter the copied API key |
|
WPCS API Secret |
Enter the copied API secret |

A success message of Credentials validated appears.
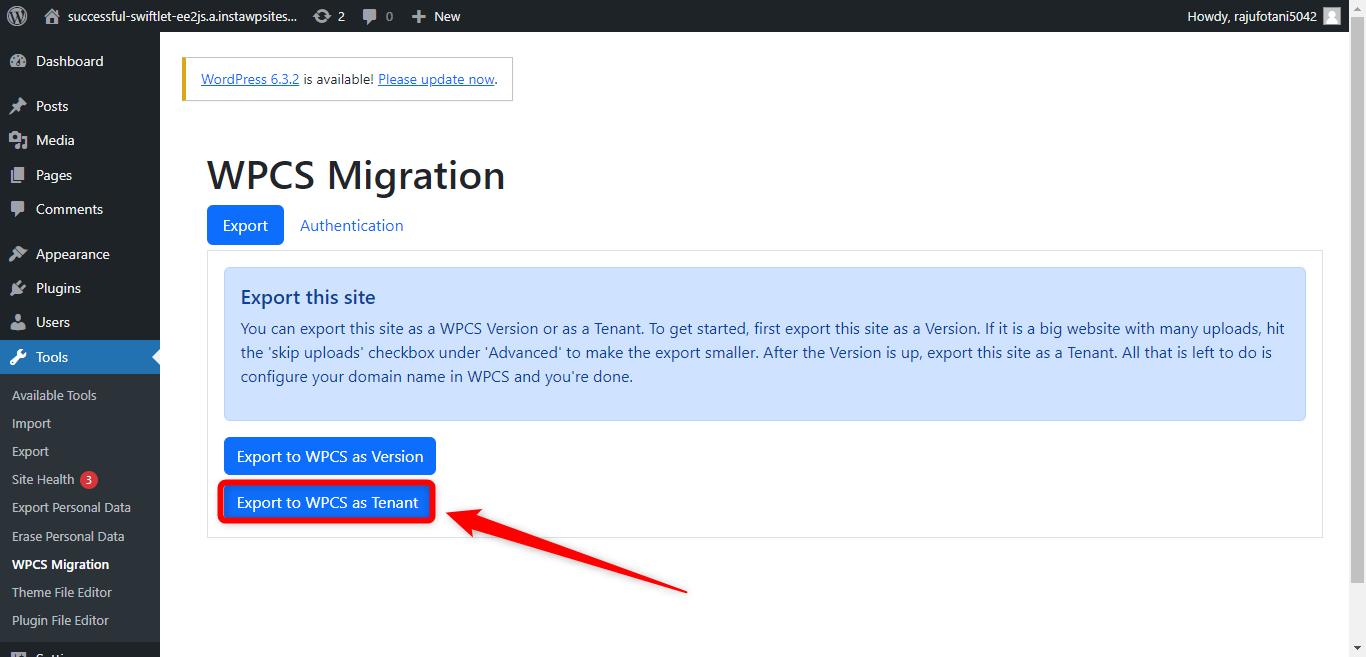
Step 6: Click on the Export button and it will open up options for exporting as version and as tenant.

Export the WordPress Site as a Version
Step 1: Click on the Export to WPCS as Version button to export your Existing WordPress site as a Version.

A modal window appears to decide on the Version name and select the WordPress version, PHP version, and Skip uploads from the Advanced drop-down menu.
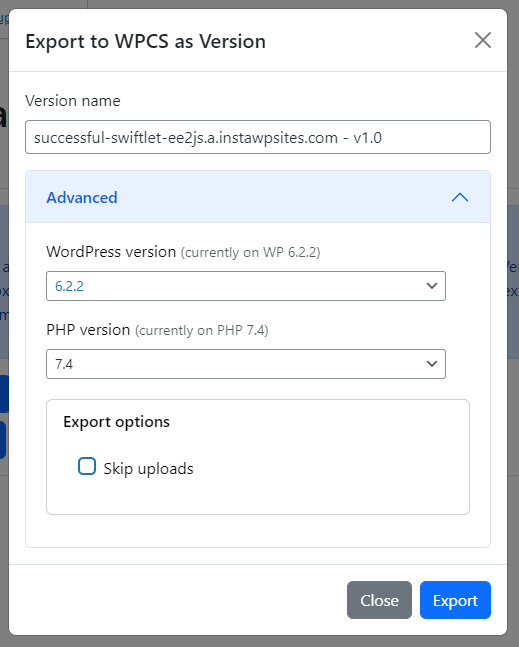
Step 2: After making selections, click on the Export button.

Note: If your WordPress site has many uploads, check the 'skip uploads' under 'Advanced' to make the export smaller.
Step 3: After successfully exporting the site as a version, navigate back to the wildcloud (WPCS) panel and click on the Next button.

Step 4: This will successfully update your version status as “Version Migrated WP Site deployed”. Then, click on the Next button.

This will navigate you to the page where you need to import a site as a tenant.

Note: You can create tenants manually in the console. Refer to the Create a Tenant documentation for more information.
Export the WordPress Site as a Tenant
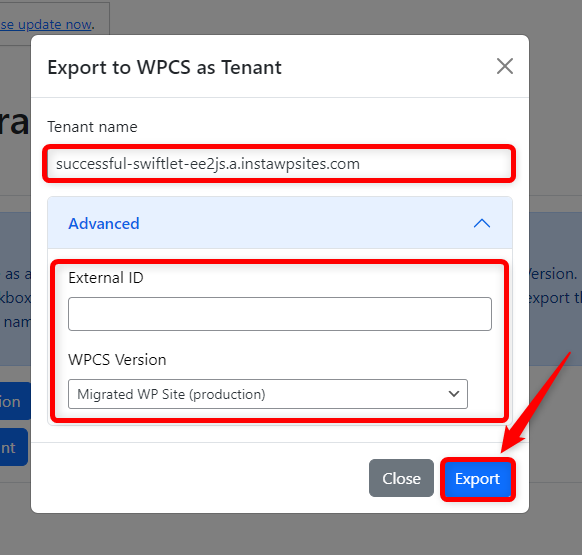
Step 1: Click on the Export to WPCS as Tenant button to export your Existing WordPress site as a Tenant.
A modal window appears to change the Tenant name and enter the External ID (optional, but administrative action) and wildcloud version (version of the application in which the tenant should be created or imported) from the Advanced drop-down menu.
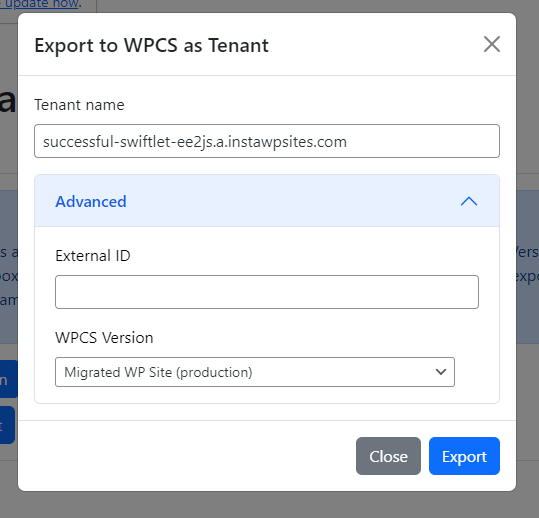
Step 2: Enter the requested information and click on the Export button.
Step 3: After successfully exporting the site as a tenant, navigate back to the wildcloud (WPCS) panel and select the Import a site as a tenant now option.

Step 4: This will successfully update your Tenant status as deployed. Then, click on the Next button.

This will navigate you to the new page where you can view the link to the base domain (a domain which is automatically assigned to each tenant and cannot be removed) and the WP Admin Dashboard (referred to as the 'one-click login button).
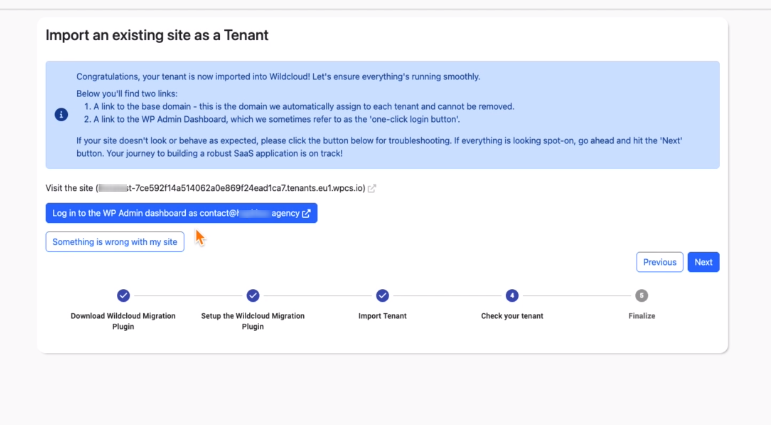
Step 5: Click on the Next button to proceed further.

Note: If there is some issue with your site, you can hit the Something is wrong with my site button.
Step 6: Click on the Tenant Overview button to view the tenant detail page where you can add domains, manage backups per tenant, manage PHP constants and activate/deactivate plugins.