.png?height=120&name=wildcloud%20by%20WPCS%20logos%20(1).png)
While there is a free tier for snapshot storage, having a lot of snapshots can get confusing. Whether to safe on cost or to declutter, follow this guide on how to remove snapshots.
If you no longer require the snapshot, then you can easily delete the snapshots. You can delete versions, tenants and custom snapshots of any application. However, once you delete a snapshot, you will no longer be able to create a tenant based on that snapshot.
Note: You cannot remove the latest snapshot of a version, since it's being used to provision your multi-tenant environments.
In this documentation, we will explore the steps to delete a snapshot.
Let’s get started!🚀
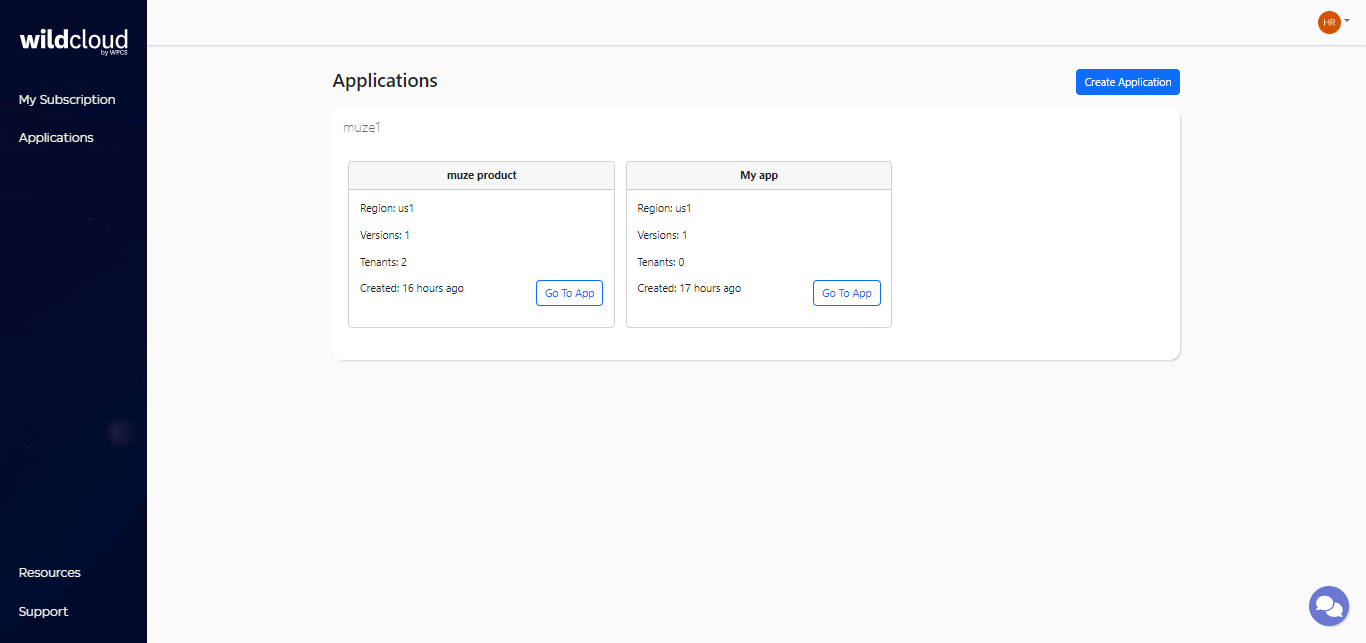
Step 1: Log in to your wildcloud account and you will be navigated to the Applications page by default.
Step 2: Click on Go To App and it will navigate you to the product page.
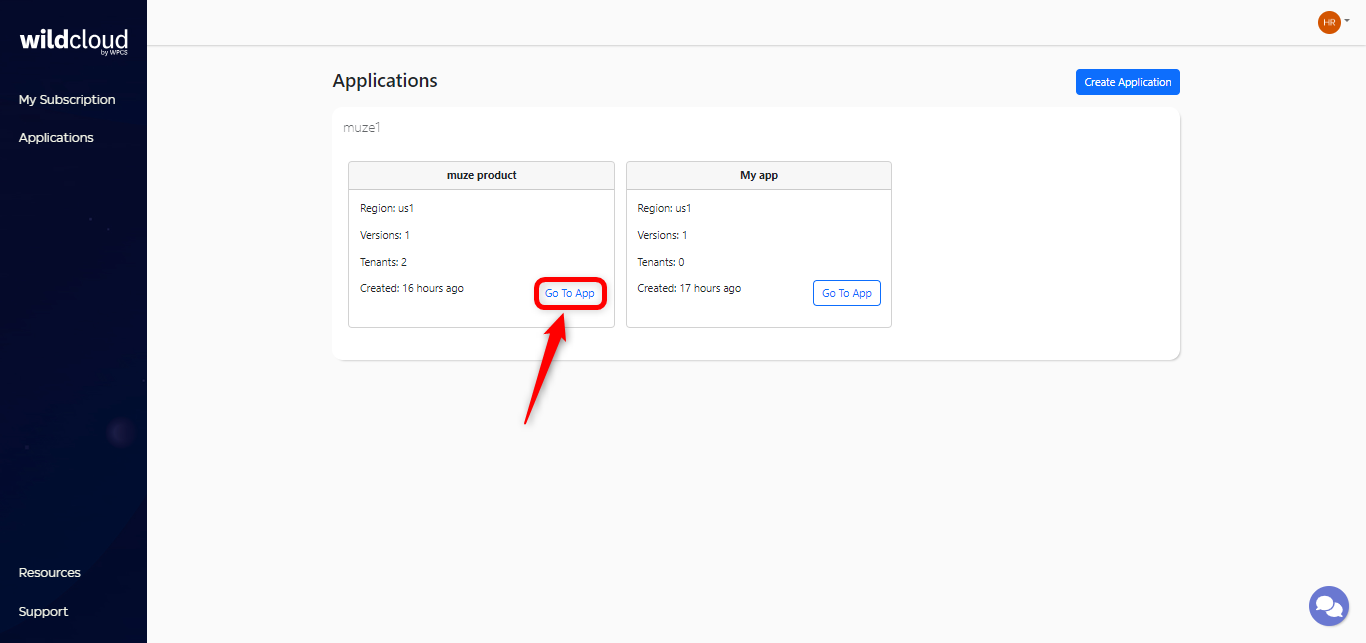
Note: You can also click on the application name as it will navigate you to the same window.

Step 3: Click on the View all snapshot button for any of the available versions for which you want to delete the snapshot.
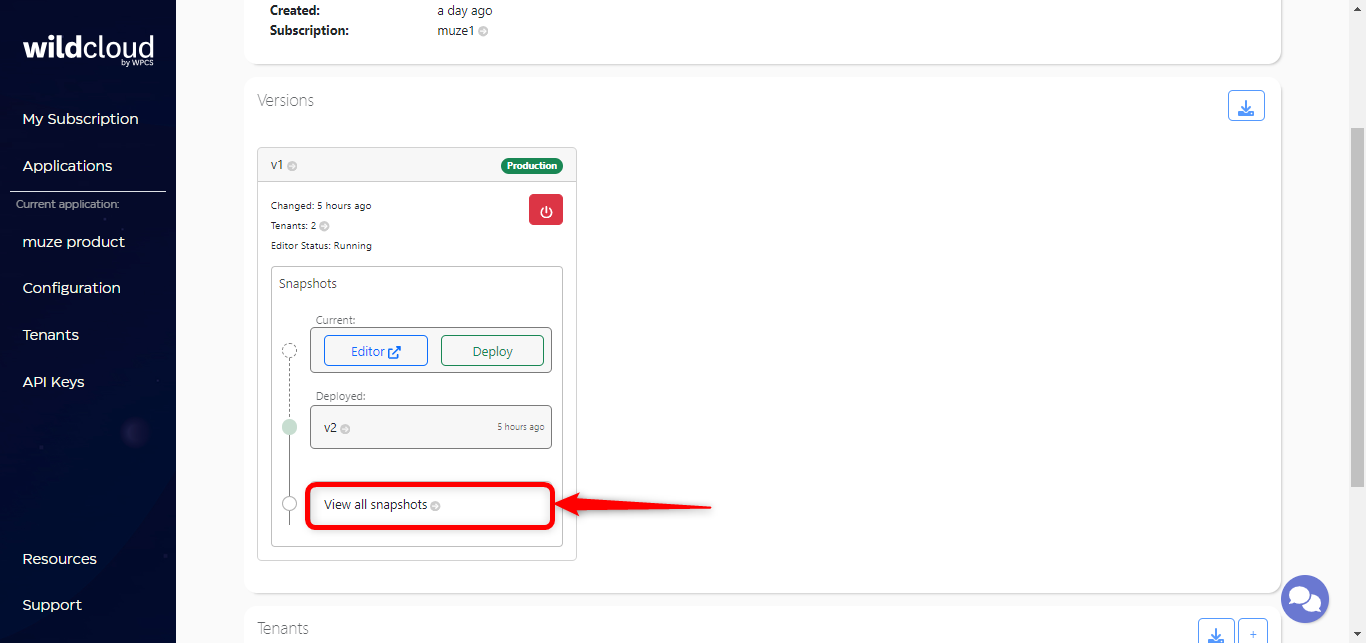
This will navigate you to the snapshot detail page where you can manage version, tenant, and custom snapshots.
Delete a Version Snapshot
Step 1: Select the Version Snapshots option (this option is selected by default).
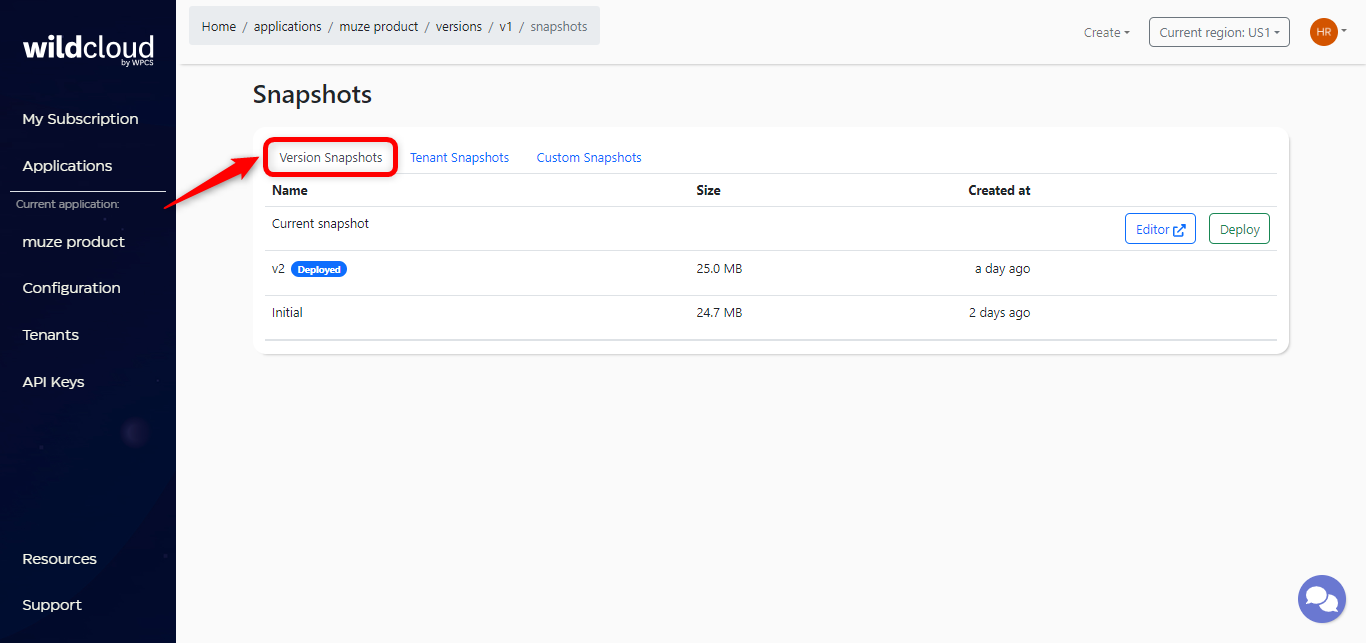
Step 2: Click on the snapshot name that you wish to delete.
Step 3: Click on the Actions dropdown menu and select the Delete Snapshot option from the dropdown list.

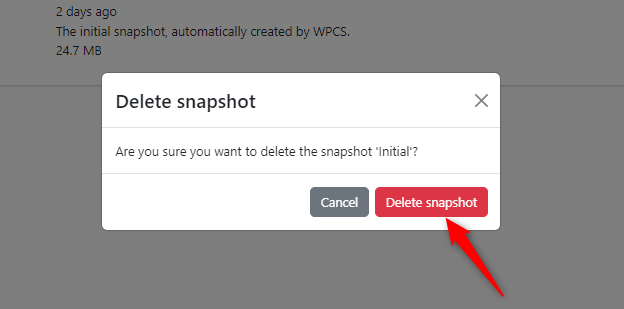
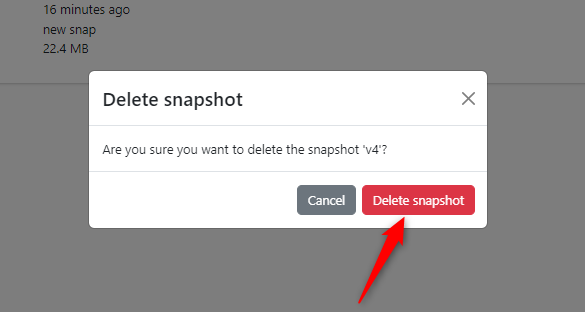
Step 4: A modal window will appear for the confirmation of the action. Click on Delete snapshot to proceed.
Delete a Tenant Snapshot
Step 1: Select the Tenant Snapshots option to delete the tenant snapshot.

Step 2: Click on the snapshot name that you wish to delete.

Step 3: Click on the Actions dropdown menu and select the Delete Snapshot option from the dropdown list.

Step 4: A modal window will appear for the confirmation of the action. Click on Delete snapshot to proceed.
Alternatively, you can also delete a tenant snapshot through the following steps.
Step 1: Hover your cursor over the snapshot you wish to delete and click on the delete icon.
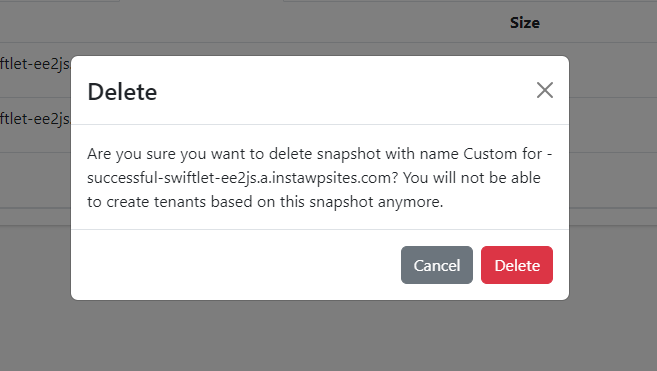
Step 2: A modal window will appear for the confirmation of action. Click on Delete to permanently delete the snapshot.

Delete a Custom Snapshot
Step 1: Select the Custom Snapshots option to delete the custom snapshot.

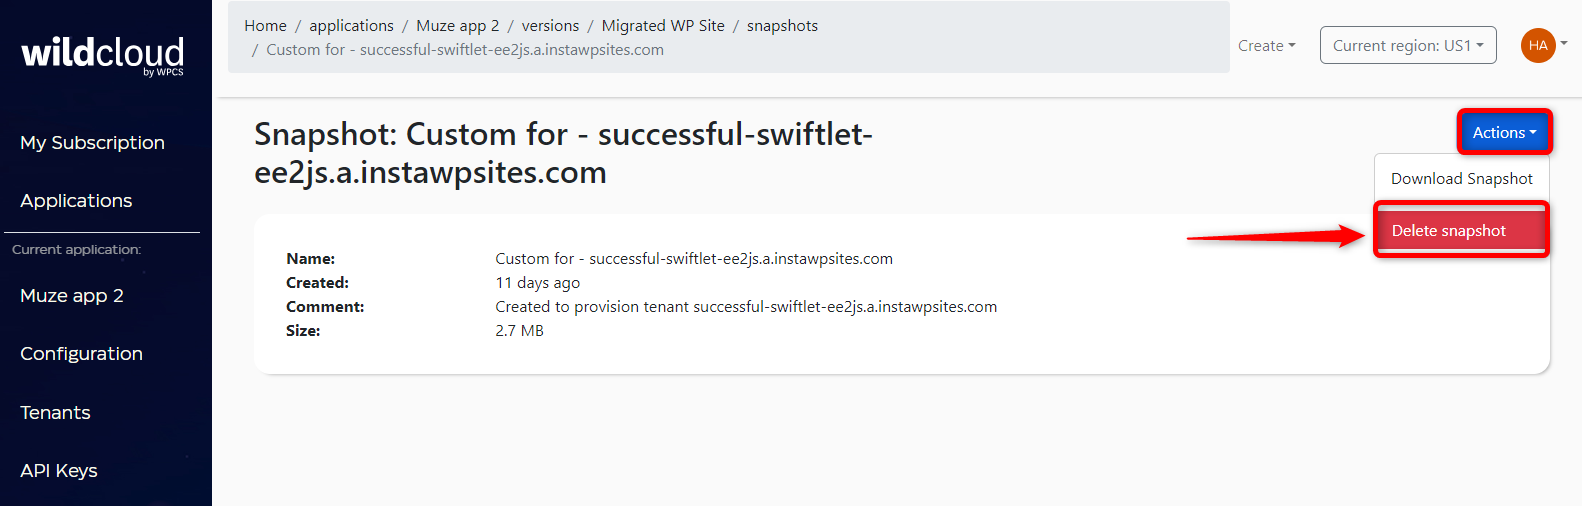
Step 2: Click on the snapshot name that you wish to delete.
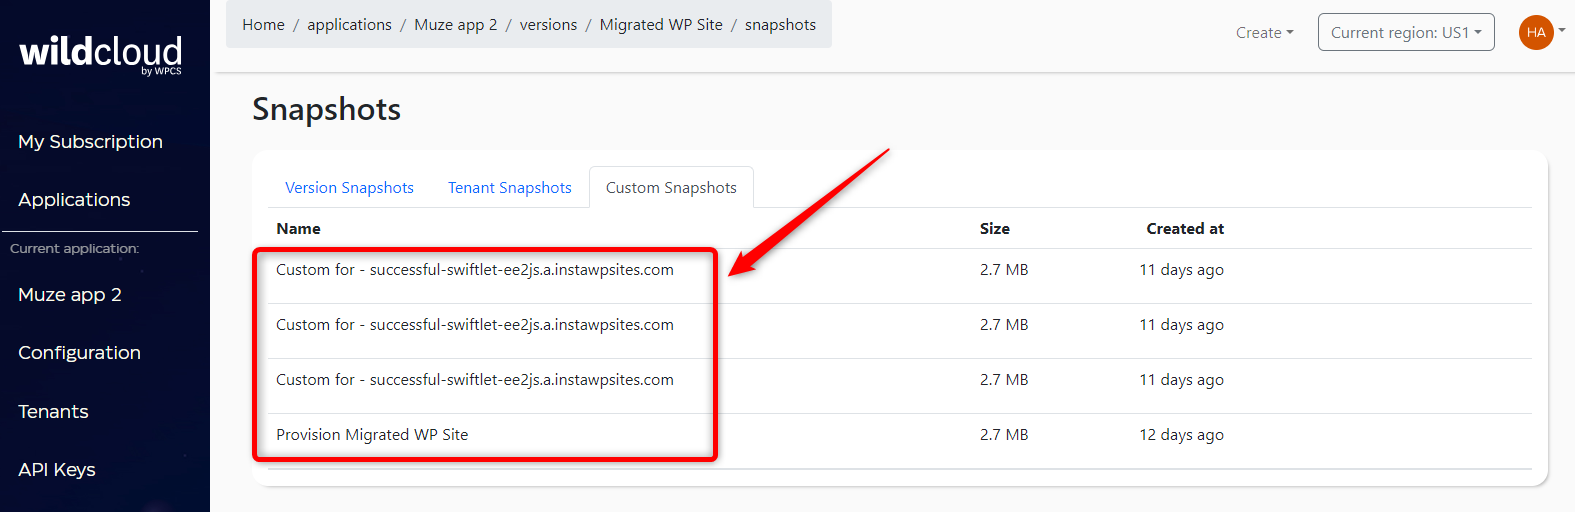
You will be navigated to the snapshot details page.
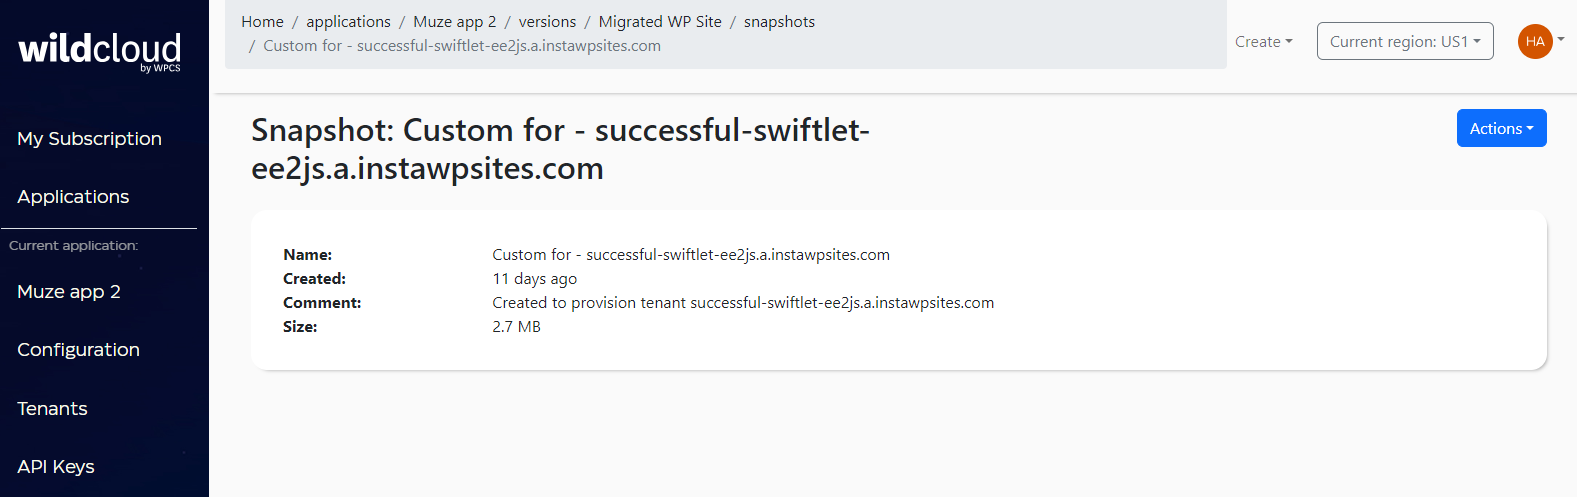
Step 3: Click on the Actions dropdown menu and select the Delete Snapshot option from the dropdown list.
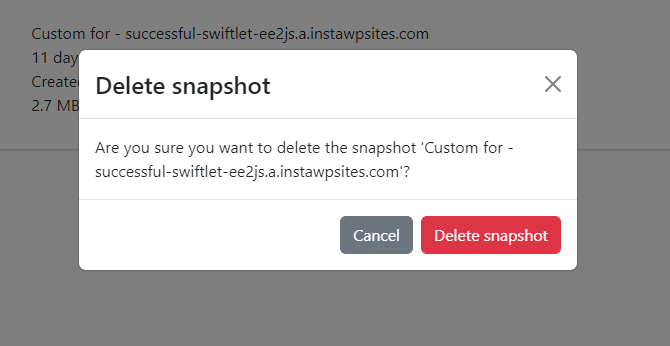
Step 4: A modal window will appear for the confirmation of the action. Click on Delete snapshot to permanently delete the custom snapshot.
Alternatively, you can also delete a custom snapshot through the following steps.
Step 1: Hover your cursor over the snapshot you wish to delete and click on the delete icon.

Step 2: A modal window will appear for the confirmation of action. Click on Delete to permanently delete the snapshot.