.png?height=120&name=wildcloud%20by%20WPCS%20logos%20(1).png)
WildCloud allows you to easily create a WordPress application like WaaS or SaaS, from scratch. These applications are defined as the collection of packaged WordPress-based instances which are called tenants, and controlled via “versions”.
Create an Application From Scratch
In this documentation, we will explore steps to create an application from scratch.
Let’s get started🚀
Step 1: Log in to your WildCloud account and you will be navigated to the Applications page by default.
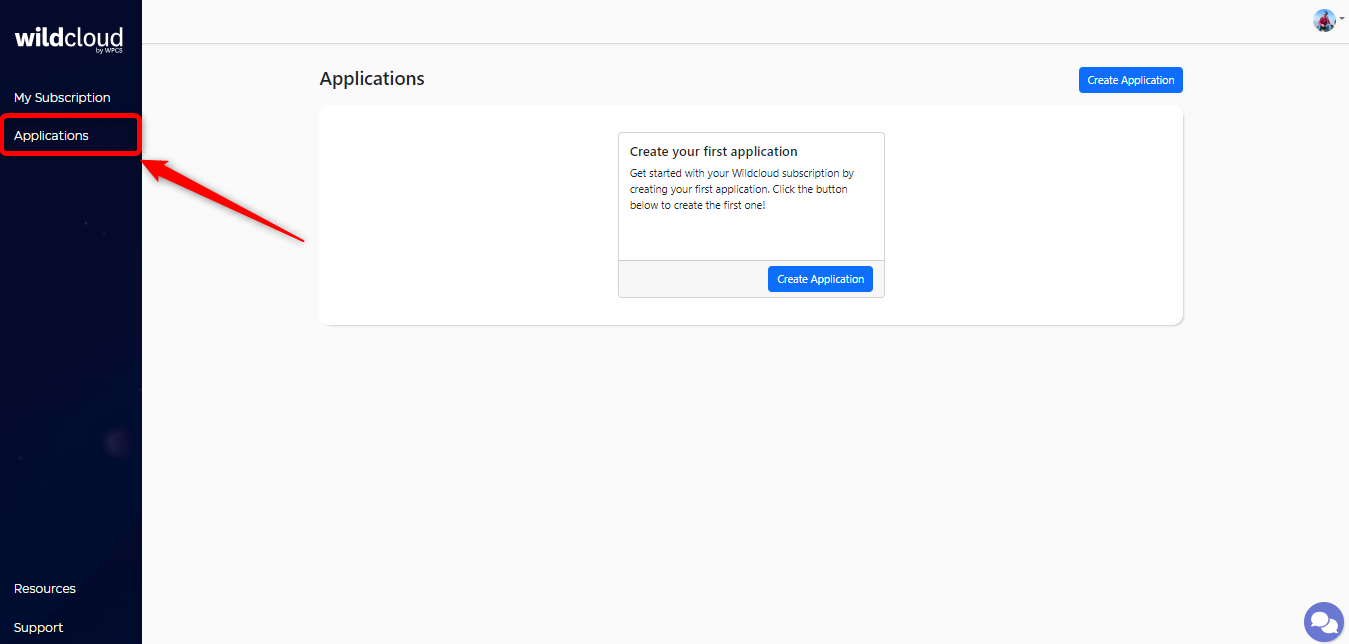
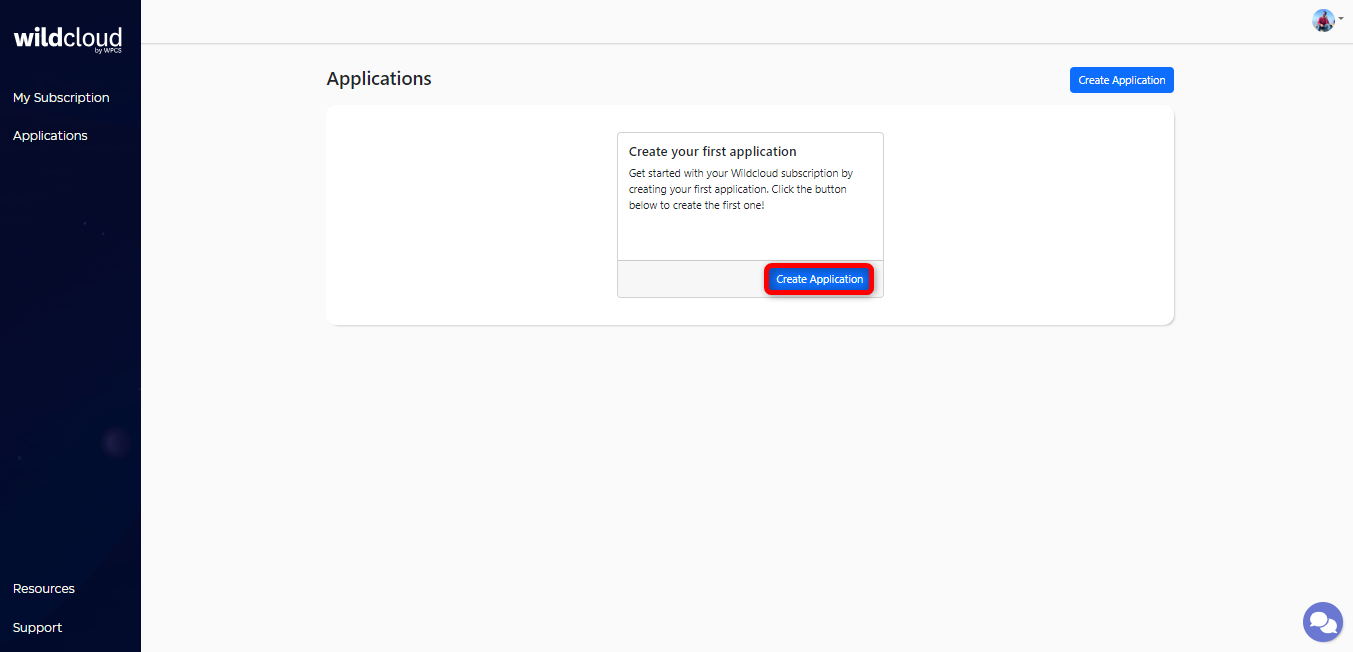
Step 2: Click on the Create Application to build your first application.
This will navigate you to the Create new application page providing you with several options to start creating your application.

Step 3: Select Empty application and click Next at the bottom of the page to start working on your application .


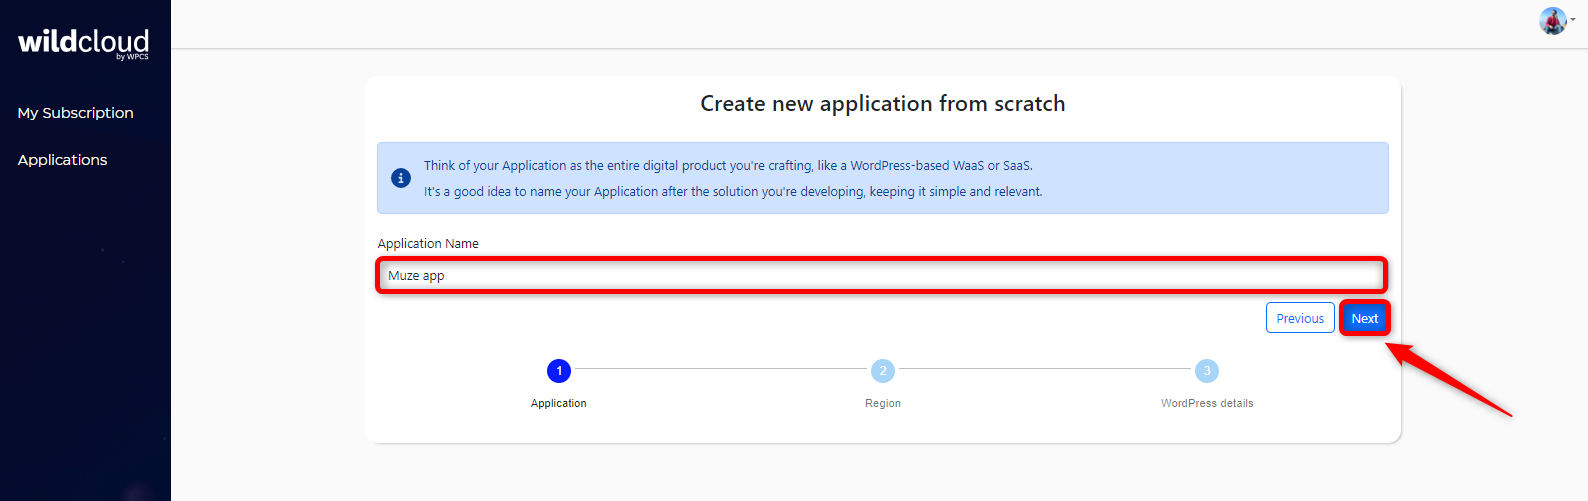
Step 4: Enter the name that you want to give to your application and click on Next.
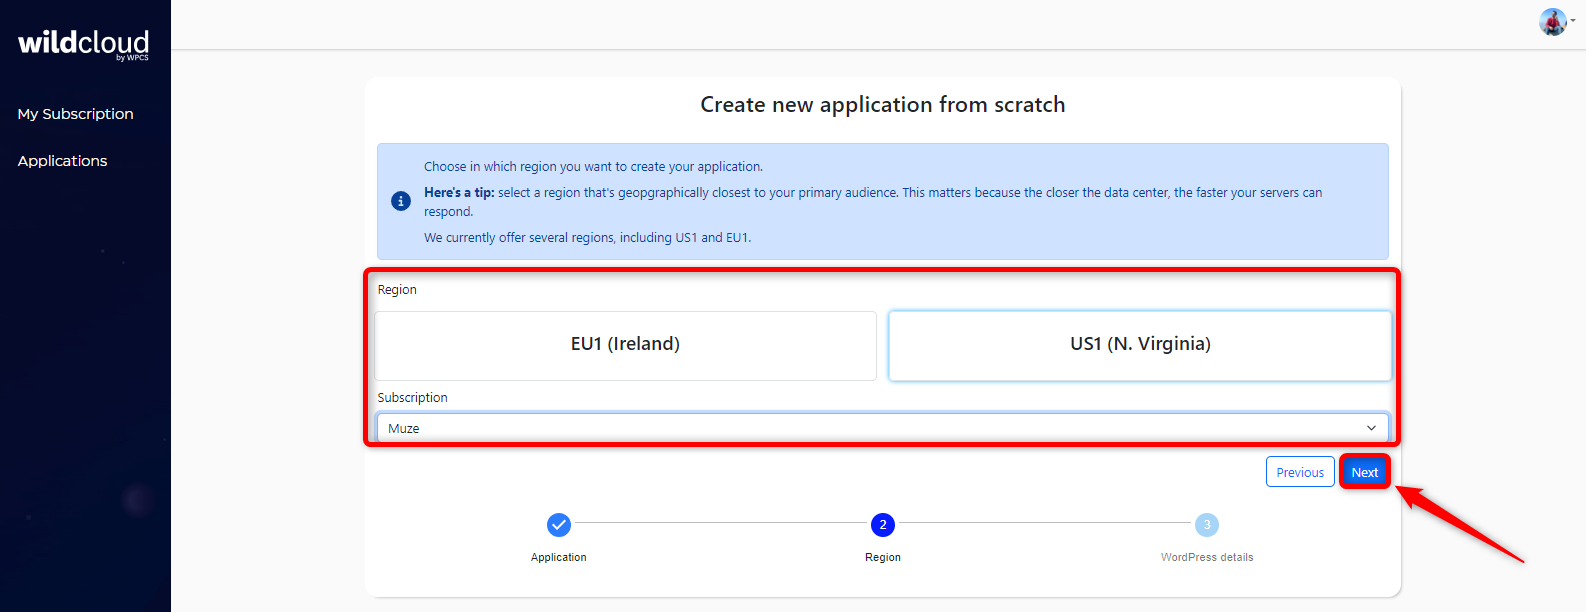
Step 5: Select the Region in which you want to create your application and choose the subscription name from the dropdown menu. Click on the Next button after making the selections.
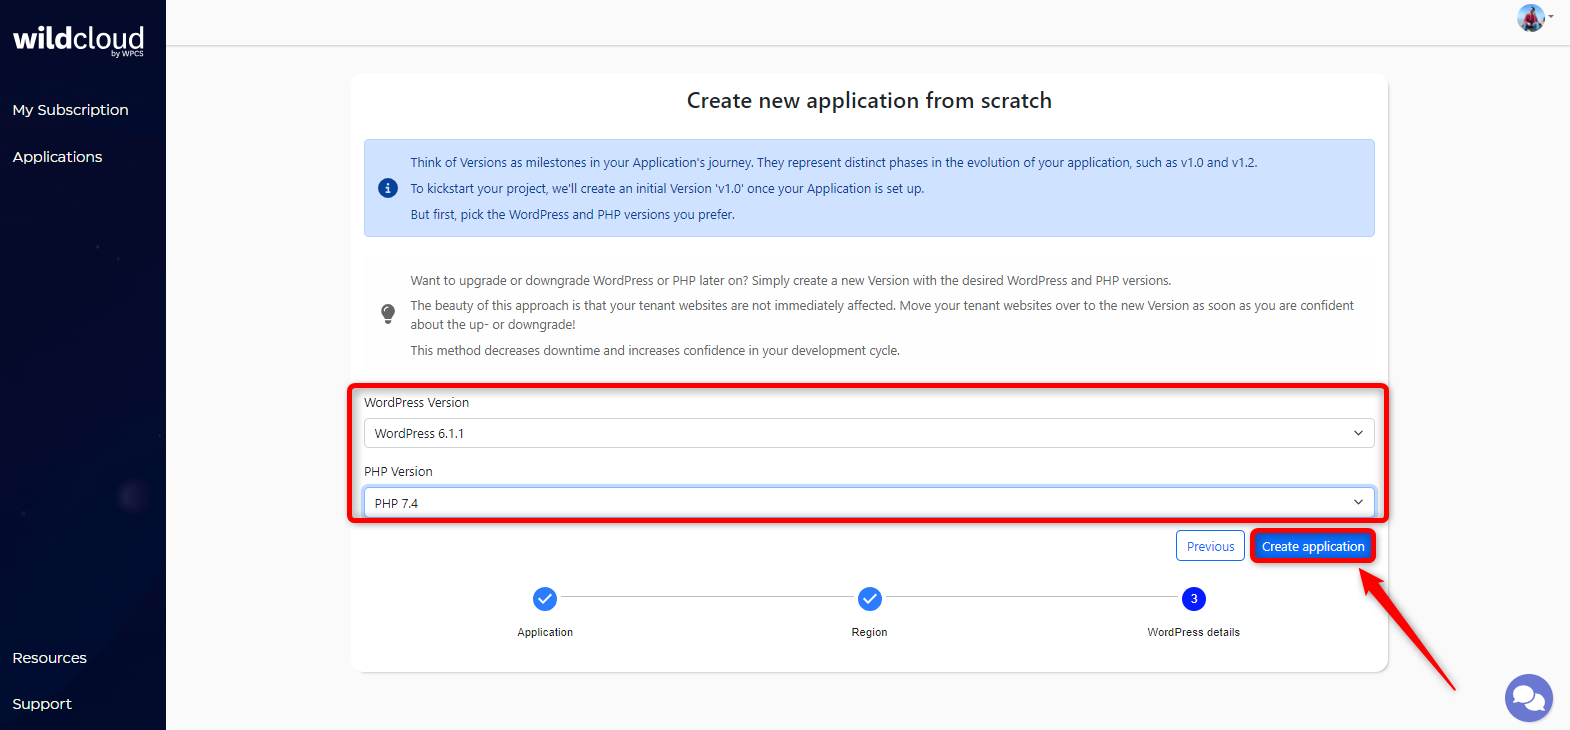
Step 6: Select the desired WordPress version and PHP version (from the dropdown menu) in which you want to create your new application. Click on the Create application button.
This will create your application and navigate you to the Resource status page where you can view your newly created app and its current version.

Note: It may take a few minutes to show the application and version status.
Step 7: Click on Go to application to view your newly created app details.

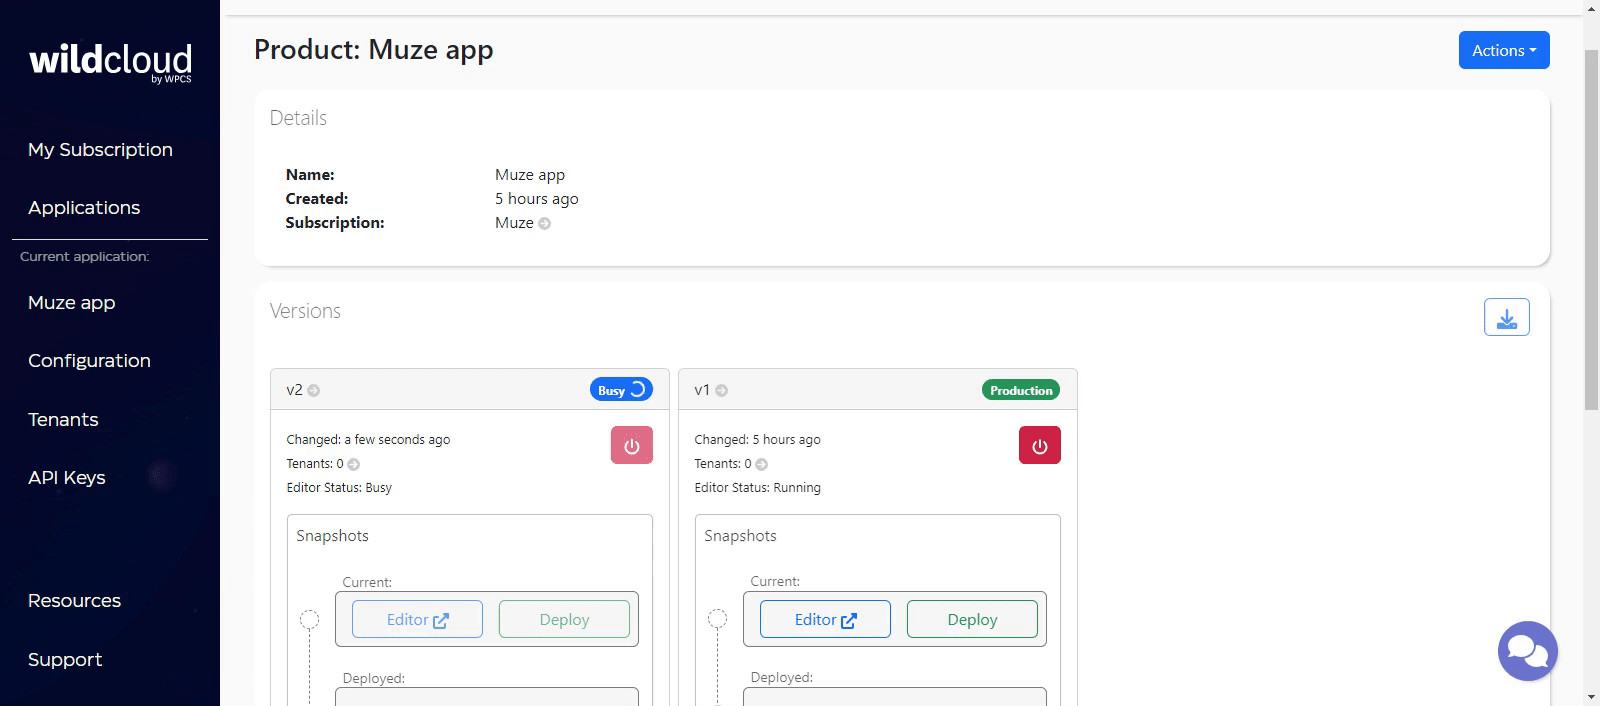
This will navigate you to the application details page where you can explore general information about the app, version details, and tenant details.
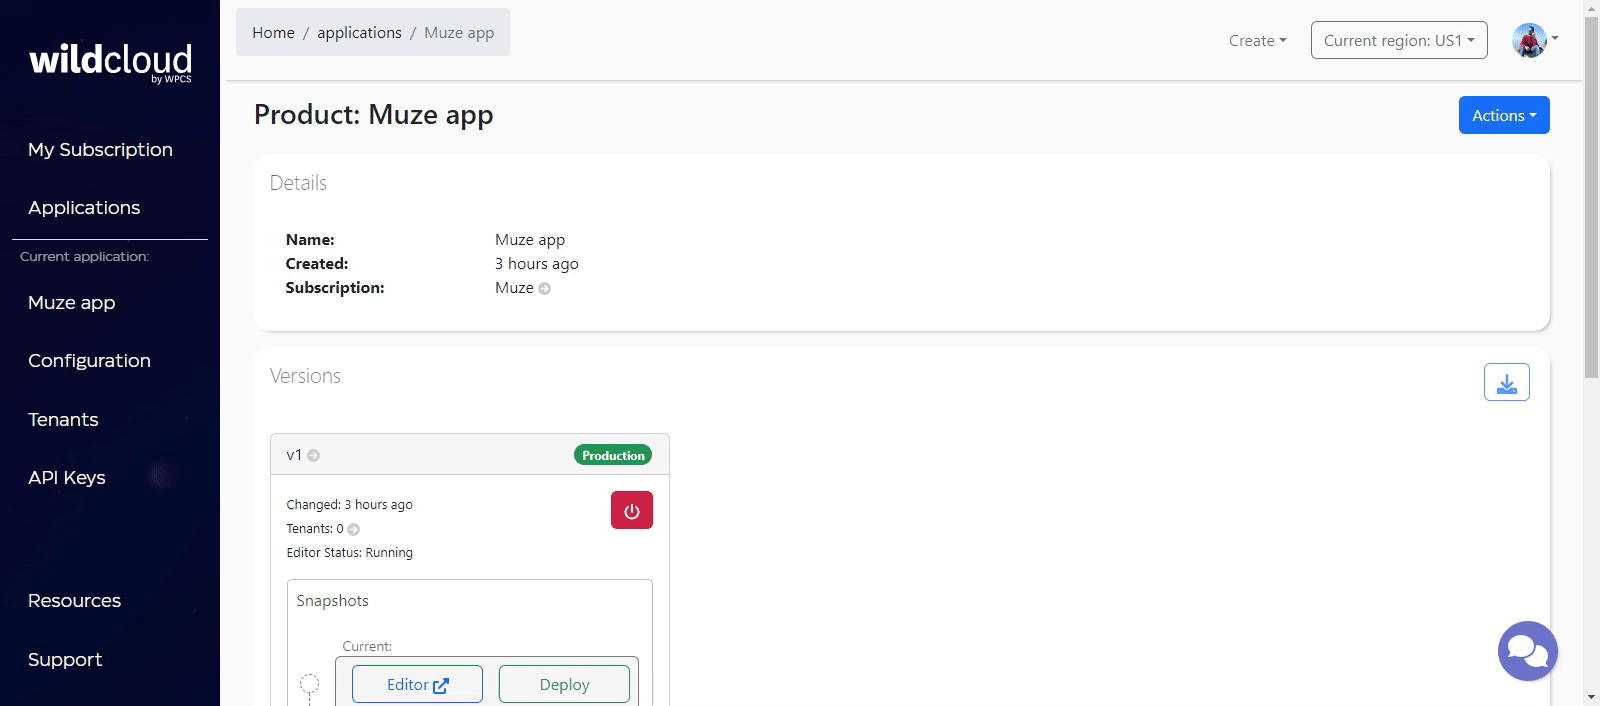
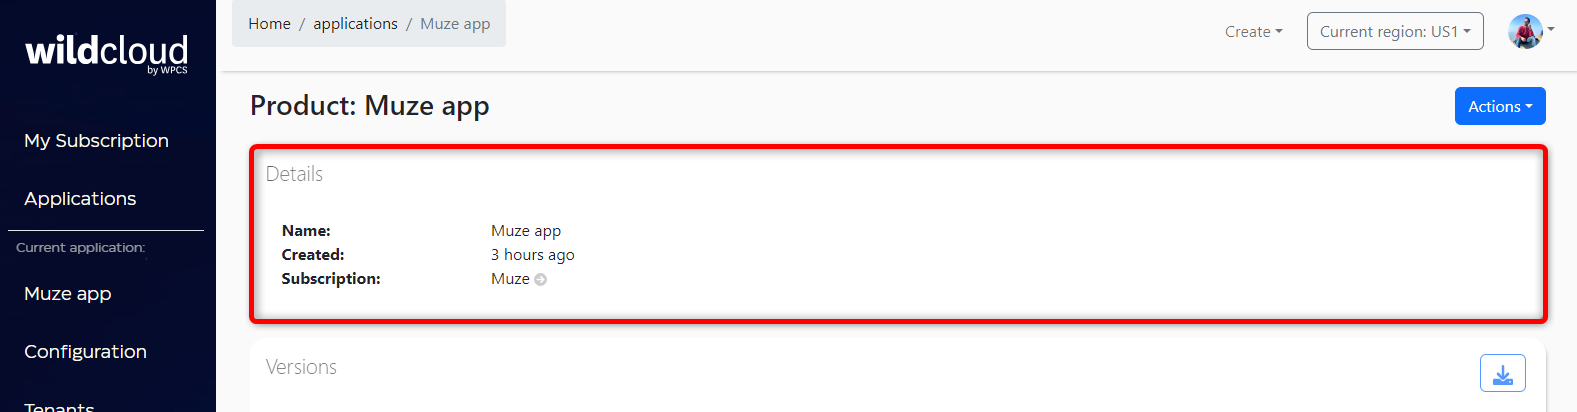
Application Details
General Information
|
Attribute |
Description |
|
Name |
Name of the app |
|
Created |
Timestamp when the app was created |
|
Subscription |
Subscription under which the app is created |
Versions
Navigate to this section to perform the following actions:
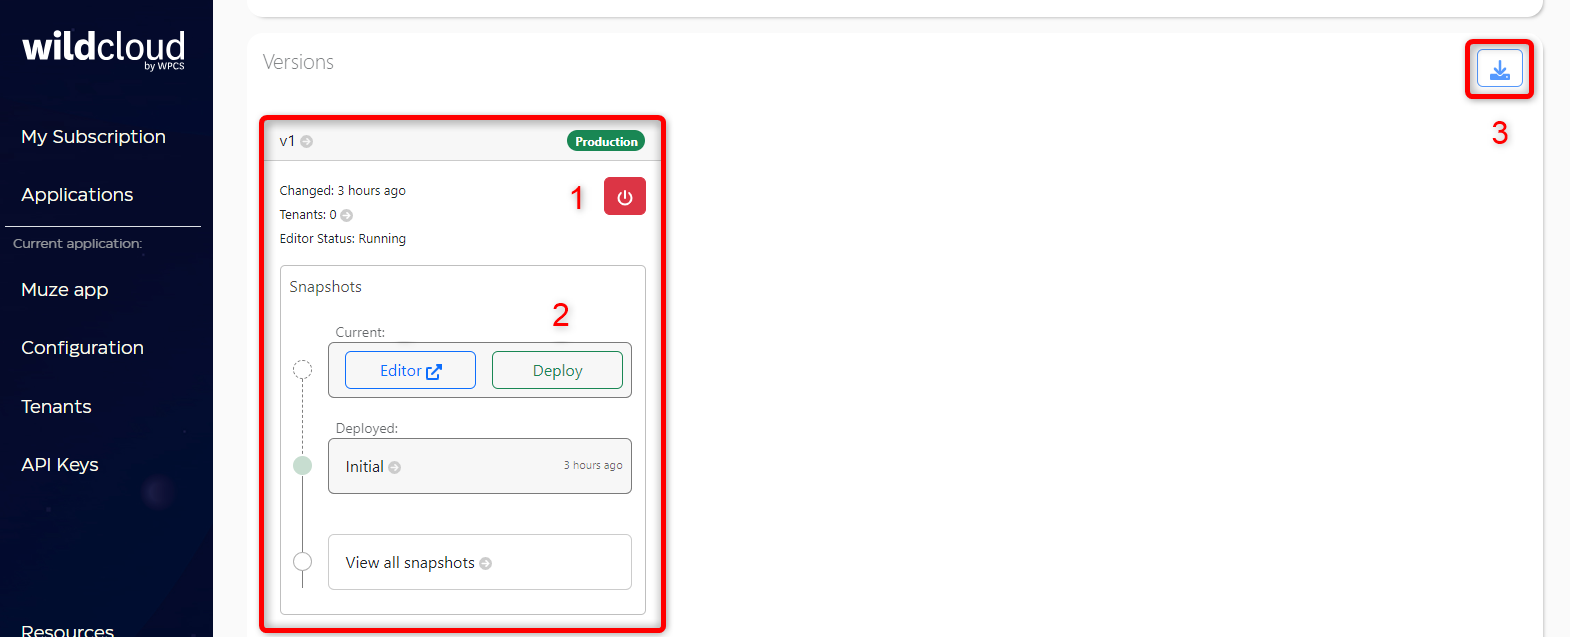
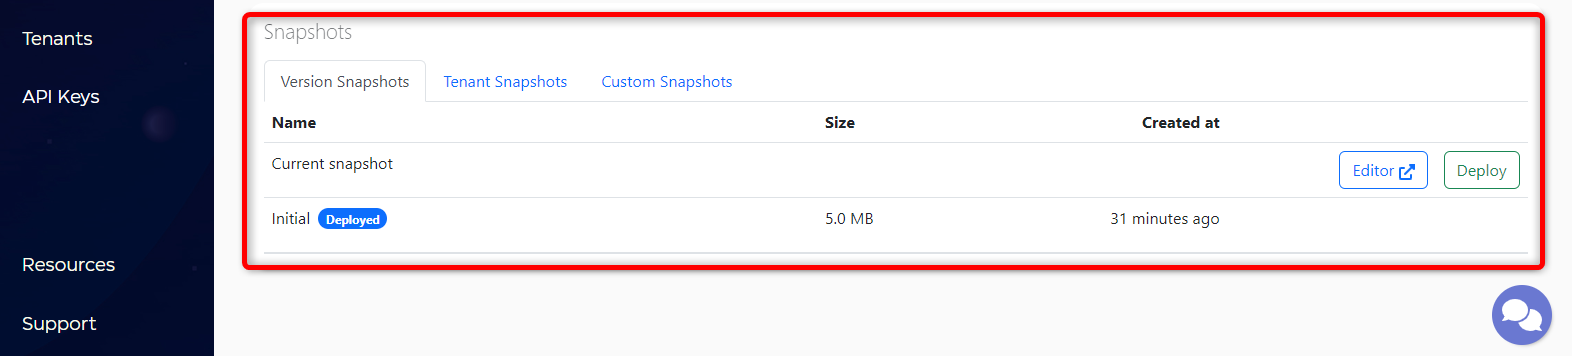
You can also view all the snapshots (version, tenant, custom) created under the respective version of the newly created application.
Tenants
Navigate to this section to perform the following actions:

You can also view the tenants created and explore the following information.
|
Attribute |
Description |
|
Name |
Name of the created tenant |
|
URL |
URL link of the tenant |
|
Running on version |
Displays the version on which the tenant was created |
|
Last updated |
Timestamp when the tenant was updated last time |
|
Created |
Timestamp when the tenant was created |
|
Status |
Displays the status of the tenant |

Step 8: Click on Go to version to view the first version of your newly created application.

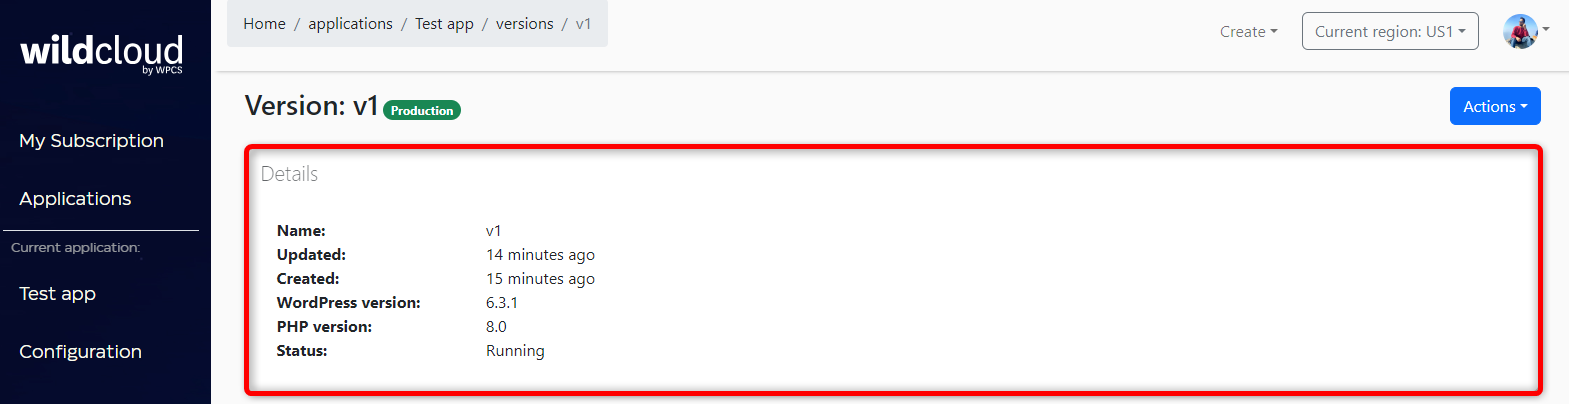
This will navigate you to the version details page of the newly created application where you can explore general information about the version, tenants, and snapshots.

Version Details
General Information
|
Attribute |
Description |
|
Name |
Displays the name of the version |
|
Updated |
Timestamp when the version was updated last time |
|
Created |
Timestamp when the version was created |
|
WordPress version |
Displays the WordPress version using which the application is created |
|
PHP version |
Displays the PHP version using which the application is created |
|
Status |
Displays the status of the application |
Tenants
You can view the list of the created tenants and view the following information related to them.
|
Attribute |
Description |
|
Name |
Name of the created tenant |
|
URL |
URL link of the tenant |
|
Last updated |
Timestamp when the tenant was updated last time |
|
Created |
Timestamp when the tenant was created |
|
Status |
Displays the status of the tenant |
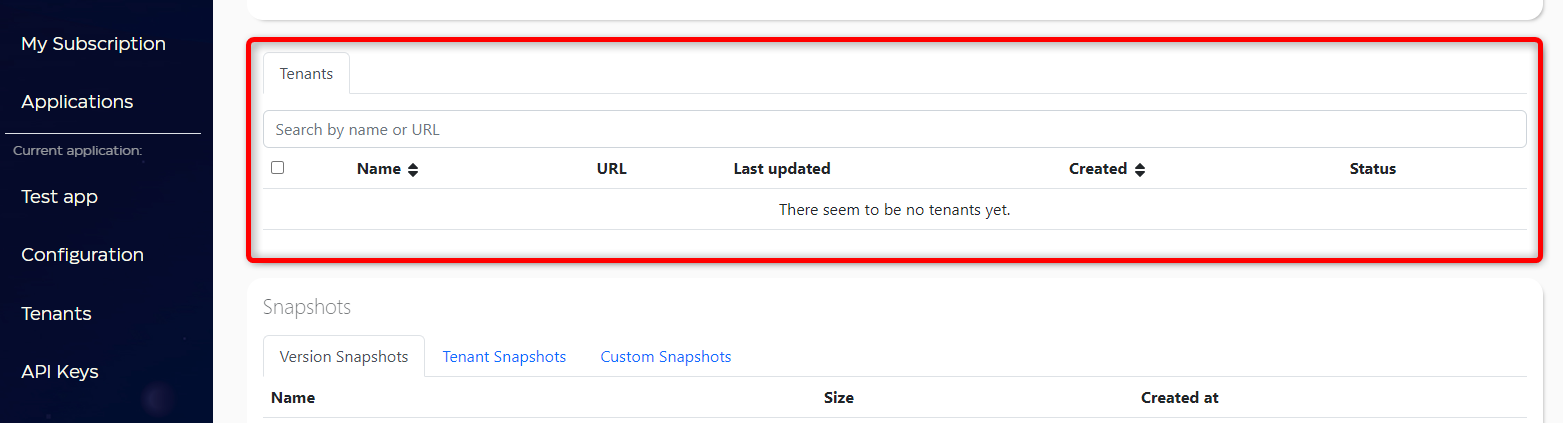
Snapshots
Displays all the snapshots (version, tenant, custom) created under the respective version of the newly created application.