.png?height=120&name=wildcloud%20by%20WPCS%20logos%20(1).png)
Tenants are the live sites of your customer. Learn how to create them manually in this article.
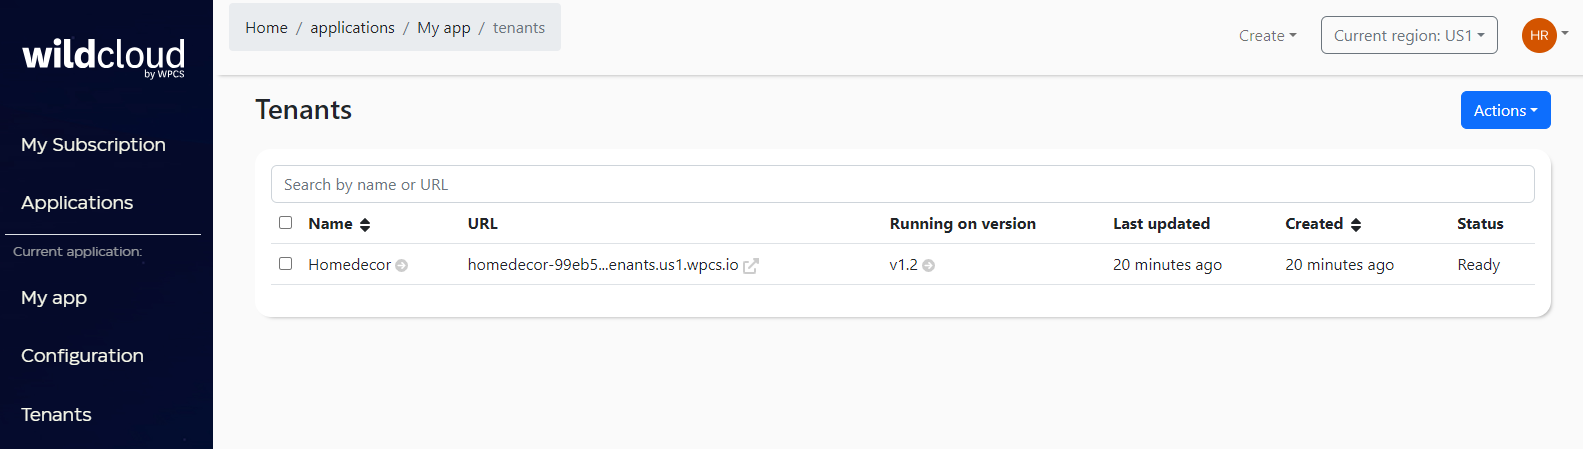
Tenants are the actual sites that you link to live domains. You can edit these sites and add a domain to them.
Tenants are always based on a specific snapshot (be it a normal snapshot or a tenant snapshot) and always live in a version (defining their plugins, themes and language files). All tenants have their own backups and their own databases.
Note 1: Snapshots on which the tenants are based, determine the starting points of the tenant and the database.
Note 2: All code is shared and controlled via the version, therefore, you cannot install, update or delete plugins or themes on tenants.
In this documentation, we will explore the steps to create a tenant.
Let’s get started!🚀
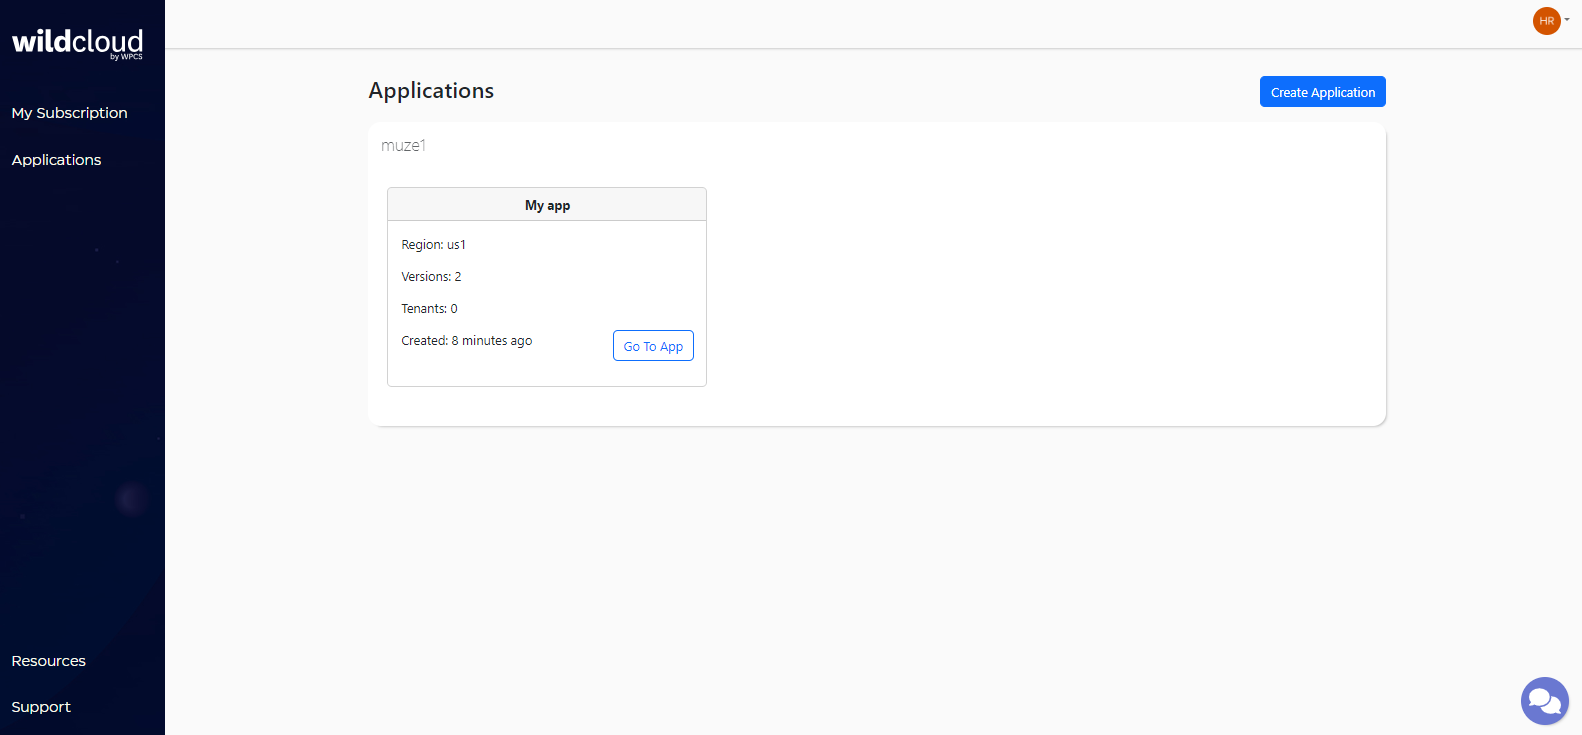
Step 1: Log in to your wildcloud account and you will be navigated to the Applications page by default.
Step 2: Click on Go To App and it will navigate you to the product page.
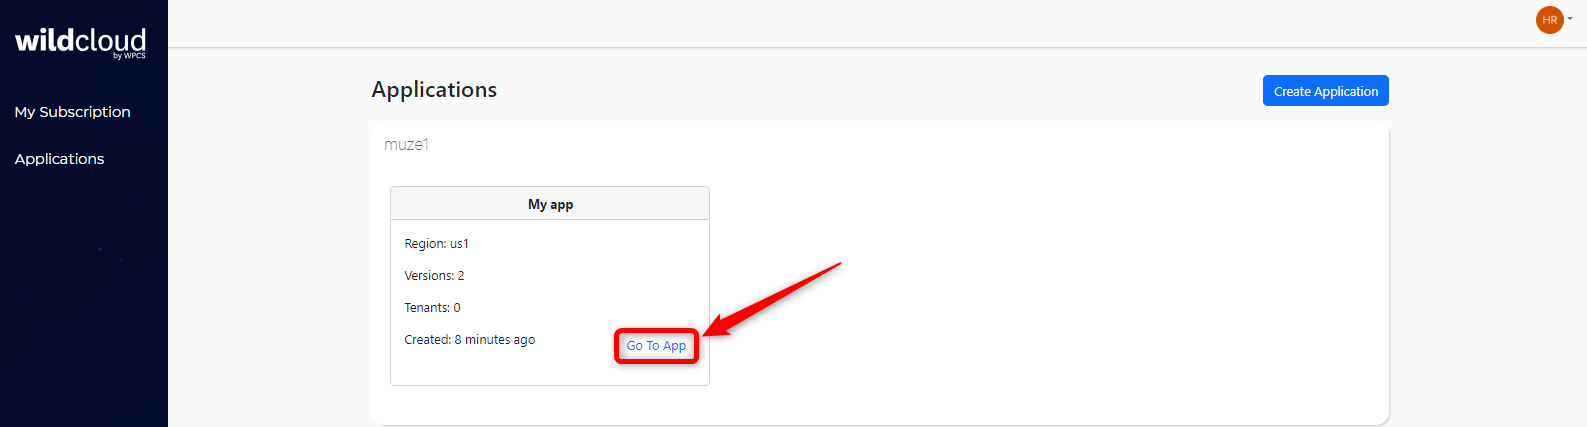
Note: You can also click on the application name as it will navigate you to the same window.
There are two different options to create a tenant in the versions.
Option 1
Step 1: Click on the Actions “caret down icon” and select Create tenant from the dropdown list.

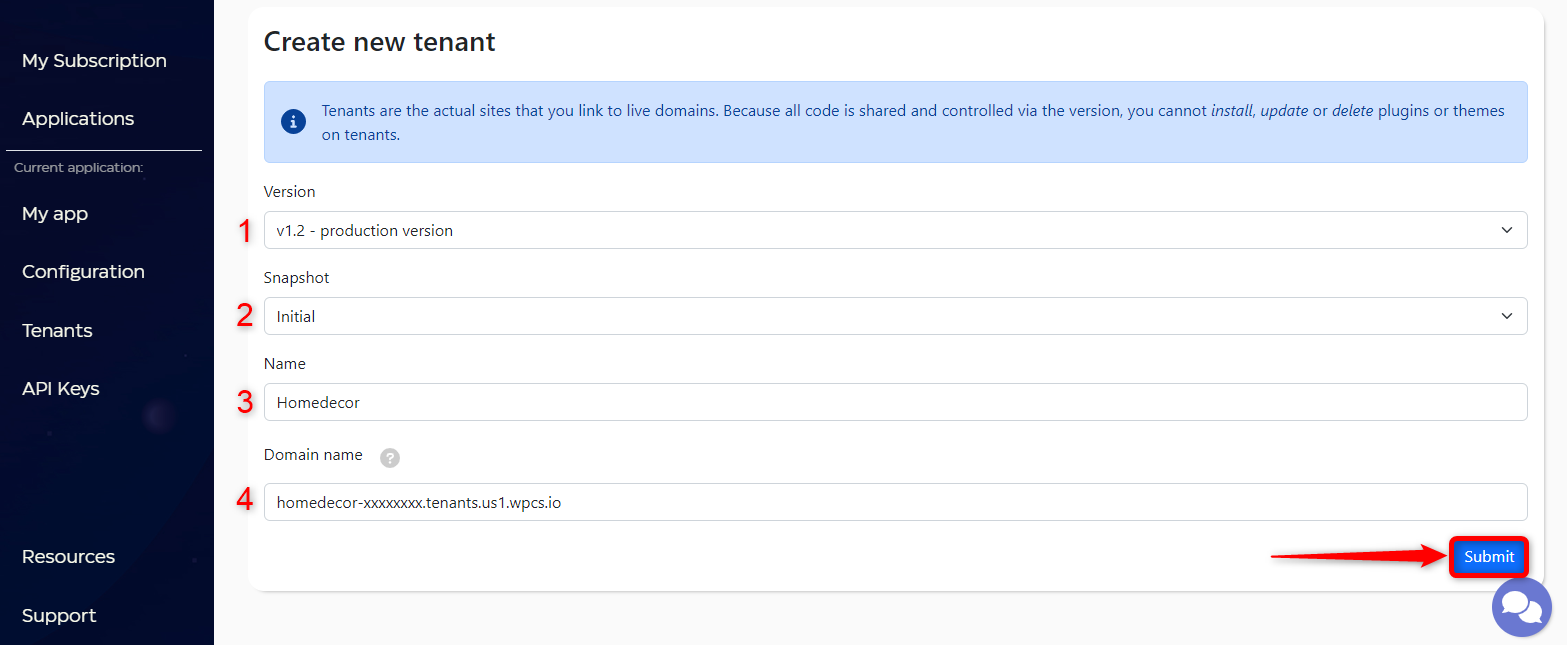
Step 2: You will be navigated to the Create new tenant page. Enter the requested information and click on the Submit button.
- Version- Select the version from the dropdown menu in which you want to create a tenant.
- Snapshot- Select the snapshot from the dropdown menu.
- Name- Enter the name of the tenant.
- Domain Name- The initial domain name for your tenant will be created by the system.
This will navigate you to the Tenant detail screen with the list of tenants created.

Option 2
Step 1: Click on the Tenants option from the left menu bar of your product page.
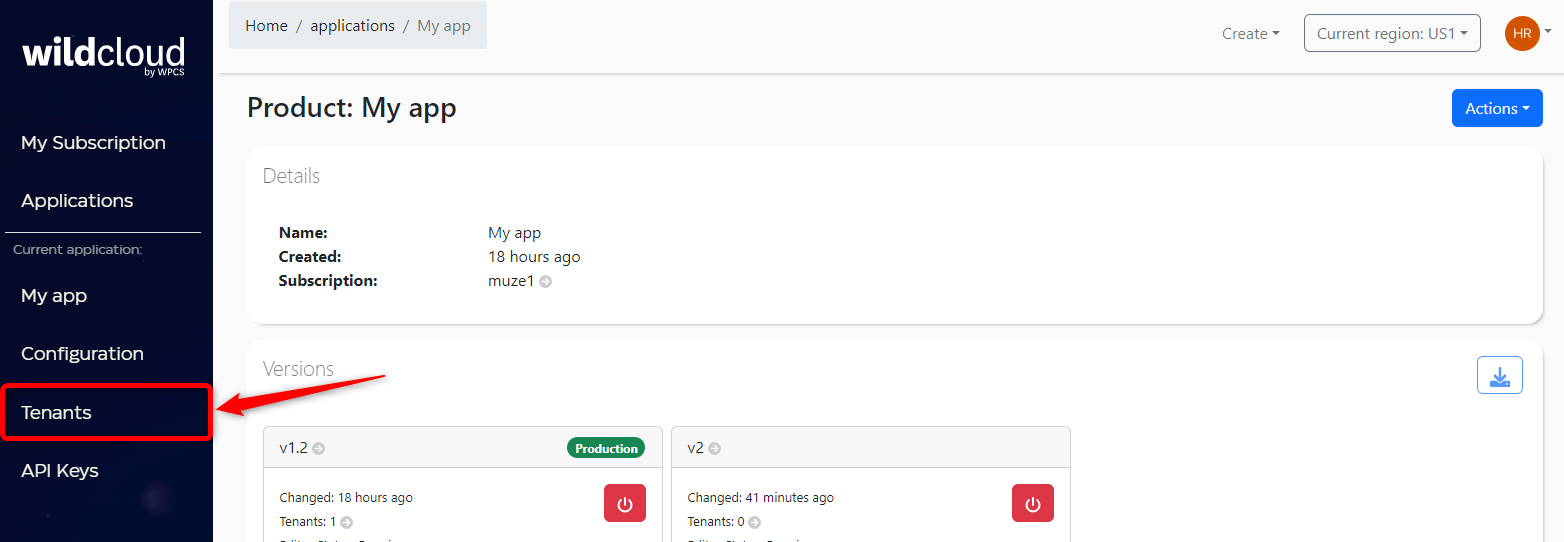
Alternatively, move to the tenants section of the product page and click on “+” at the right bottom corner.

This will navigate you to the tenant details page.
Step 2: Click on the Actions dropdown menu and select the Create tenant option from the dropdown list.
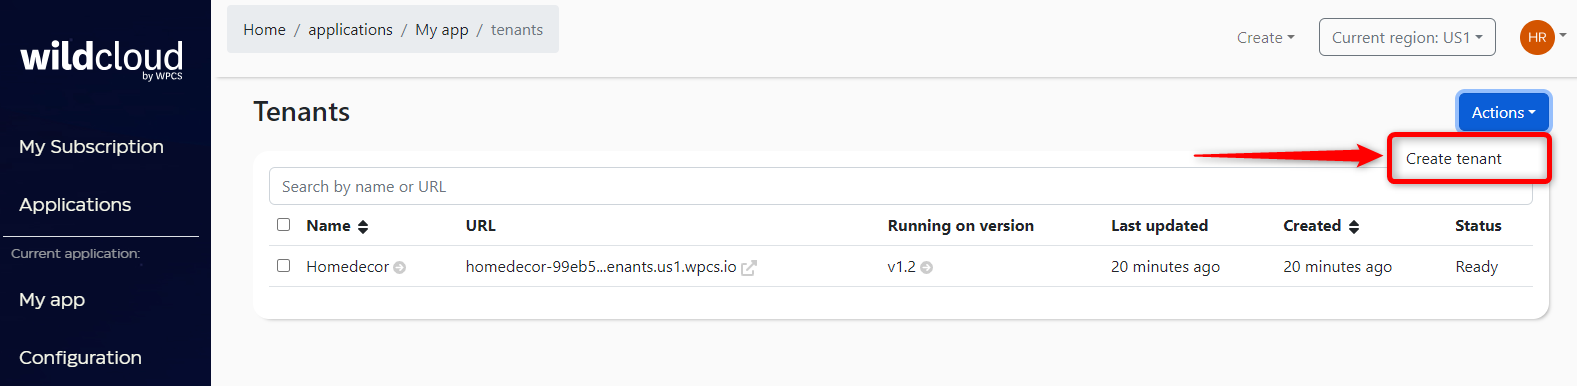
Step 3: You will be navigated to the Create new tenant page. Enter the required details and click on the Submit button to create a new tenant.
- Version- Select the version from the dropdown menu in which you want to create a tenant.
- Snapshot- Select the snapshot from the dropdown menu.
- Name- Enter the name of the tenant.
- Domain Name- The initial domain name for your tenant will be created by the system.
This will navigate you to the Tenant detail screen with the list of tenants created.